

JavaScript纯原生实现图片无缝滚动与悬停控制
本文详解如何使用纯JavaScript实现图片无缝滚动效果,涵盖单张与多张图片场景。核心原理通过复制首尾元素实现视觉拼接,关键在于禁用CSS过渡动画以避免重置时的回退闪烁。代码包含HTML结构、CSS样式及JS逻辑,支持鼠标悬停停止、自动播放及方向控制,适用于文字或图片列表的持续滚动展示。
JavaScript纯原生实现图片无缝滚动与悬停控制
许多网站应用中常见到多张图片进行连续滚动的视觉效果。
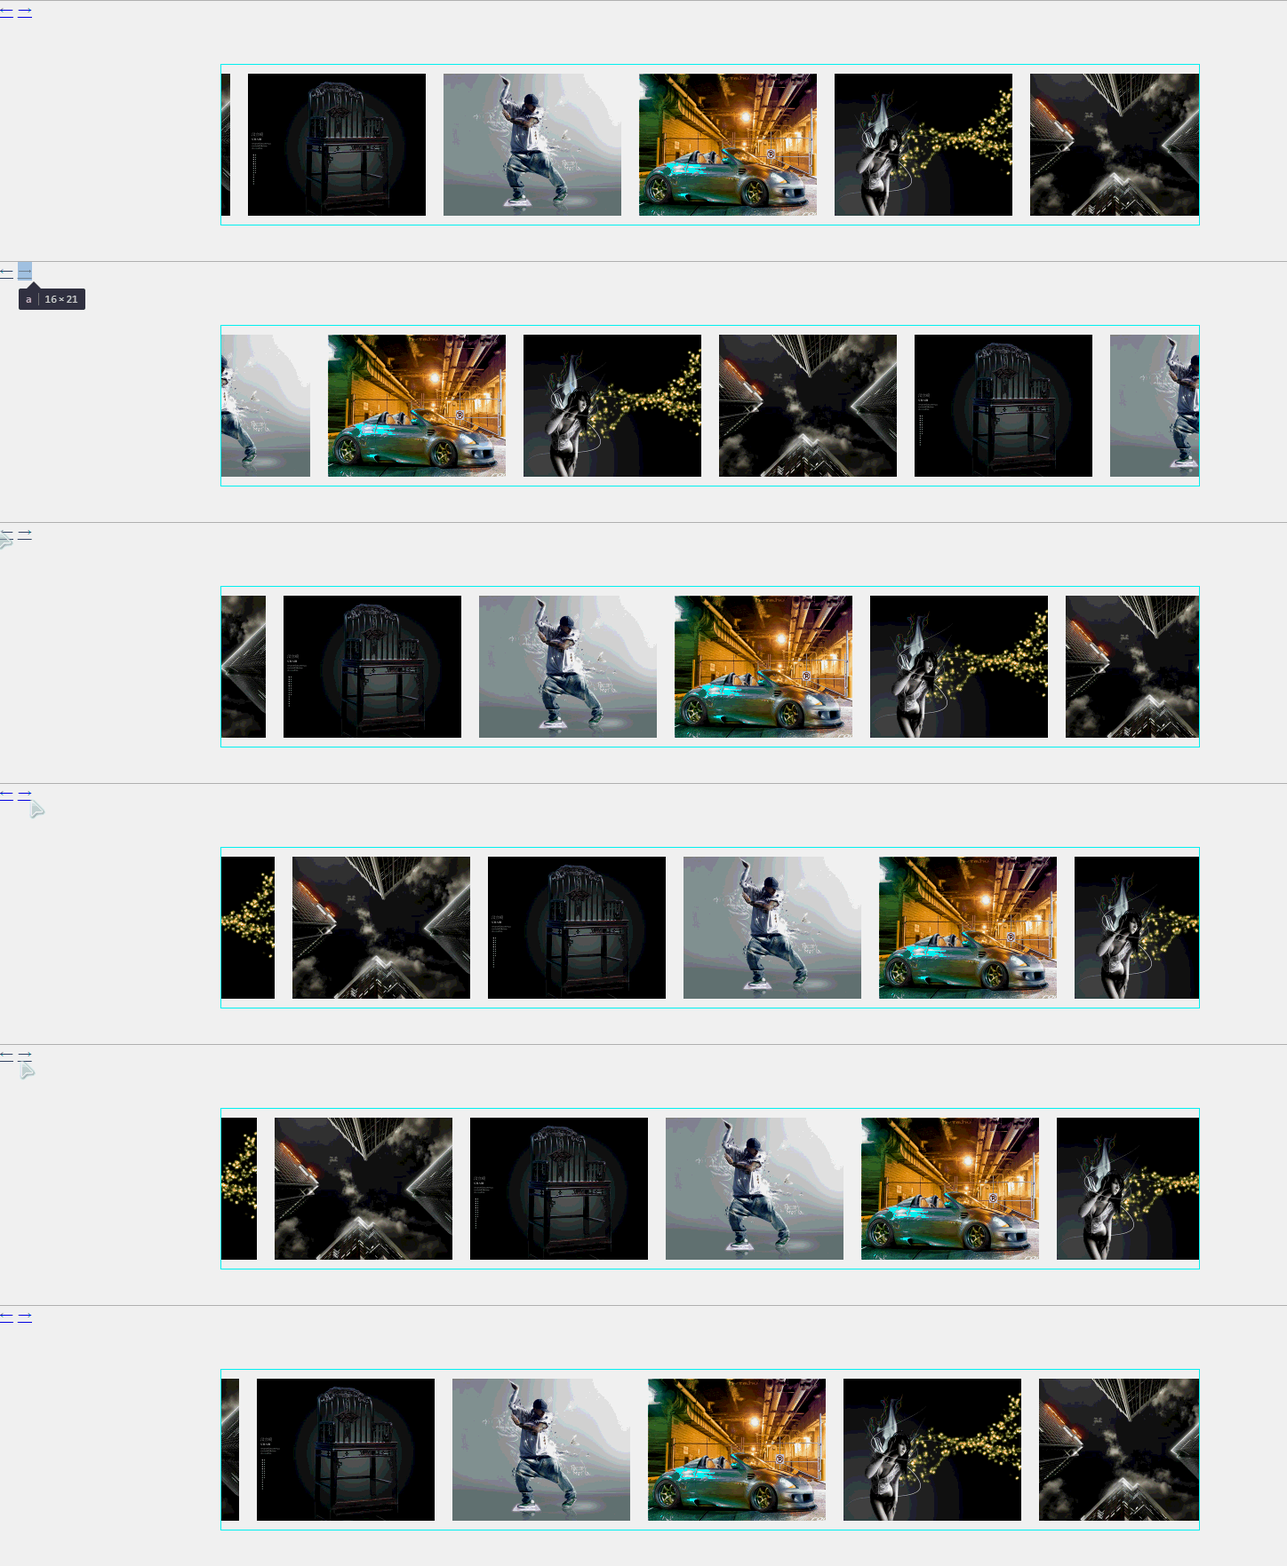
接下来介绍几种完全基于JavaScript实现的多图片无缝滚动方案,并演示如何实现鼠标悬停时滚动暂停的功能,同时支持控制图片向左或向右滚动。
1. 效果展示:
<!DOCTYPE html>
<html>
<head>
	<title>无缝滚动</title>
</head>
<style type="text/css">
*{margin: 0;padding: 0;}
	#div1{position: relative;border:1px solid #0ff;width:1100px; height: 180px;margin:50px auto 0;overflow: hidden;}
	#div1 ul{position: absolute;left: 0;}
	#div1 ul li{list-style: none;width:200px;float: left;padding: 10px;height: 160px;}
	#div1 ul li img{width:100%;}
</style>
<script type="text/javascript">
	window.onload=function(){
		var oDiv=document.getElementById('div1');
		var oUl=oDiv.getElementsByTagName('ul')[0];
		var aLi=oUl.getElementsByTagName('li');
		var aA=document.getElementsByTagName('a');//获取向右向左的箭头
		var timer=null;
		var iSpeed=10;
		oUl.innerHTML+=oUl.innerHTML;//定义图片可以循环播放
		oUl.style.width=aLi.length*aLi[0].offsetWidth+'px';//定义外层ul的宽度,根据图片的个数和每个图片的宽度计算,保证总宽度是可调整的
		function fnMove(){
			if(oUl.offsetLeft<-oUl.offsetWidth/2){
				oUl.style.left=0;
			}else if(oUl.offsetLeft>0){
				oUl.style.left=-oUl.offsetWidth/2+'px';
			}//定义到边界的时候,实现无缝衔接
			oUl.style.left=oUl.offsetLeft+iSpeed+'px';
//定义图片的右边距随着速度不断不断增加,或减小,实现运动的效果
		}
		timer=setInterval(fnMove,30);
		aA[0].onclick=function(){
			iSpeed=-10;
//按下左箭头,定义向左运动
		}
		aA[1].onclick=function(){
			iSpeed=10;
//按下右箭头,定义向右运动
		}
		oDiv.onmouseover=function(){
			clearInterval(timer);
//鼠标移动到图片上,清除定时器,停止运动
		}
		oDiv.onmouseout=function(){
			timer=setInterval(fnMove,30);
//鼠标移出,重新开启定时器,重新运动
		}
	};
</script>
<body>
	<a href="javascript:;" rel="external nofollow" rel="external nofollow" >←</a>
	<a href="javascript:;" rel="external nofollow" rel="external nofollow" >→</a>
<div id="div1">
	<ul>
		<li><img src="miaoflash/images/1.jpg"></li>
		<li><img src="miaoflash/images/2.jpg"></li>
		<li><img src="miaoflash/images/3.jpg"></li>
		<li><img src="miaoflash/images/4.jpg"></li>
		<li><img src="miaoflash/images/5.jpg"></li>
		<div style="clear: none;"></div>
	</ul>
</div>
</body>
</html>
实现背景与核心原理
内容补充:
背景:
在实现图片持续滚动的过程中,若使用JavaScript,务必避免添加CSS动画或过渡(transition)相关样式。若希望滚动看起来更平滑,可以通过逐像素移动来实现,这样依然能保持流畅感。如果引入了CSS过渡动画,当图片位置重置归零时,会出现明显的回退动画效果,这与预期需求不符。
原理:
图片滚动的逻辑与图片轮播原理相似,同样适用于文字滚动等各类滚动场景。实现方式是将最后一张图片(或一组文字)复制到第一行之前,或者将第一张图片(或一组文字)复制到末尾,从而实现无缝拼接。必须满足两个前提条件:第一,元素不能设置CSS过渡动画;第二,当滚动位置重置为零时,视觉上当前图片的位置与重置后的位置必须保持一致,肉眼无法察觉差异。
HTML结构与代码实现
实现:
HTML结构主要包含三个部分:
1. 最外层容器:用于展示滚动图片的区域,需设置 overflow: hidden; 以隐藏溢出内容。
2. 滚动容器:主要通过改变该容器的定位值(如left属性)来实现滚动效果,内部包含所有需要滚动的图片或文字元素。
3. 内容容器:用于包裹具体的图片或文字内容。
代码:
class Roll {
  constructor(opts) {
    this.elem = opts.elem; // 图片包含滚动长度的元素的
    this.elemBox = opts.elemBox; //图片展示区域元素,为了获取展示区域的高度
    this.direction = opts.direction;
    this.time = opts.time;
    this.init();
    this.roll = this.roll.bind(this)
    this.startRoll = this.startRoll.bind(this)
    this.stopRoll = this.stopRoll.bind(this)
  }
  init(){
    this.elemHeight = this.elem.offsetHeight;
    this.elemHtml = this.elem.innerHTML;
    this.elem.innerHTML = this.elem.innerHTML + this.elemHtml+ this.elemHtml;
    this.speed;
    // 如果向上滚或者向左滚动每次减1,向下滚或者向右滚动每次加1
    if(this.direction === 'top' || this.direction === 'left'){
      this.speed = -1;
    }else{
      this.speed = 1;
    }
  }
  roll(){
    switch (this.direction) {
      case "top":
        // 如果滚动的盒子的top值超出元素的高度,则置为0
        if(Math.abs(this.elemBox.offsetTop) >= this.elemHeight){
          this.elemBox.style.top = 0;
        }else{
          this.elemBox.style.top = this.elemBox.offsetTop + this.speed + 'px';
        }
        break;
      case "bottom":
        // 如果滚动的盒子的bottom值超出元素的高度,则置为0
        if(Math.abs(this.elemBox.offsetBottom) >= this.elemHeight){
          this.elemBox.style.bottom = 0;
        }else{
          this.elemBox.style.bottom = this.elemBox.offsetBottom + this.speed + 'px';
        }
        break;
      case "left":
        // 如果滚动的盒子的left超出元素的高度,则置为0
        if(Math.abs(this.elemBox.offsetLeft) >= this.elemHeight){
          this.elemBox.style.left = 0;
        }else{
          this.elemBox.style.left = this.elemBox.offsetLeft + this.speed + 'px';
        }
        break;
      case "right":
        // 如果滚动的盒子的right超出元素的高度,则置为0
        if(Math.abs(this.elemBox.offsetRight) >= this.elemHeight){
          this.elemBox.style.right = 0;
        }else{
          this.elemBox.style.right = this.elemBox.offsetRight + this.speed + 'px';
        }
        break;
      default:
        // 默认向上滚动,如果滚动的盒子的top超出元素的高度,则置为0
        if(Math.abs(this.elemBox.offsetTop) >= this.elemHeight){
          this.elemBox.style.top = 0;
        }else{
          this.elemBox.style.top = this.elemBox.offsetTop + speed + 'px';
        }
    }
  }
  stopRoll(){
    clearInterval(this.scrollTimer)
  }
  startRoll(){
    this.scrollTimer = setInterval(this.roll,this.time)
  }
}
以上就是javascript单张多张图无缝滚动实例代码的详细内容,更多关于javascript图片无缝滚动的资料请关注本站其它相关文章!
ES6模块化中js文件怎么用import和export交互
2026-11-05 17:00:48
JS读取本地文件时报错或无响应的常见原因
2026-11-05 16:32:31
let、const与var的区别:JavaScript变量声明最佳实践
2026-11-05 14:16:38
JS中直接定义静态二维数组的字面量写法
2026-11-05 14:16:08
JS 怎么查找字符串中所有匹配项的位置
2026-11-05 14:15:53