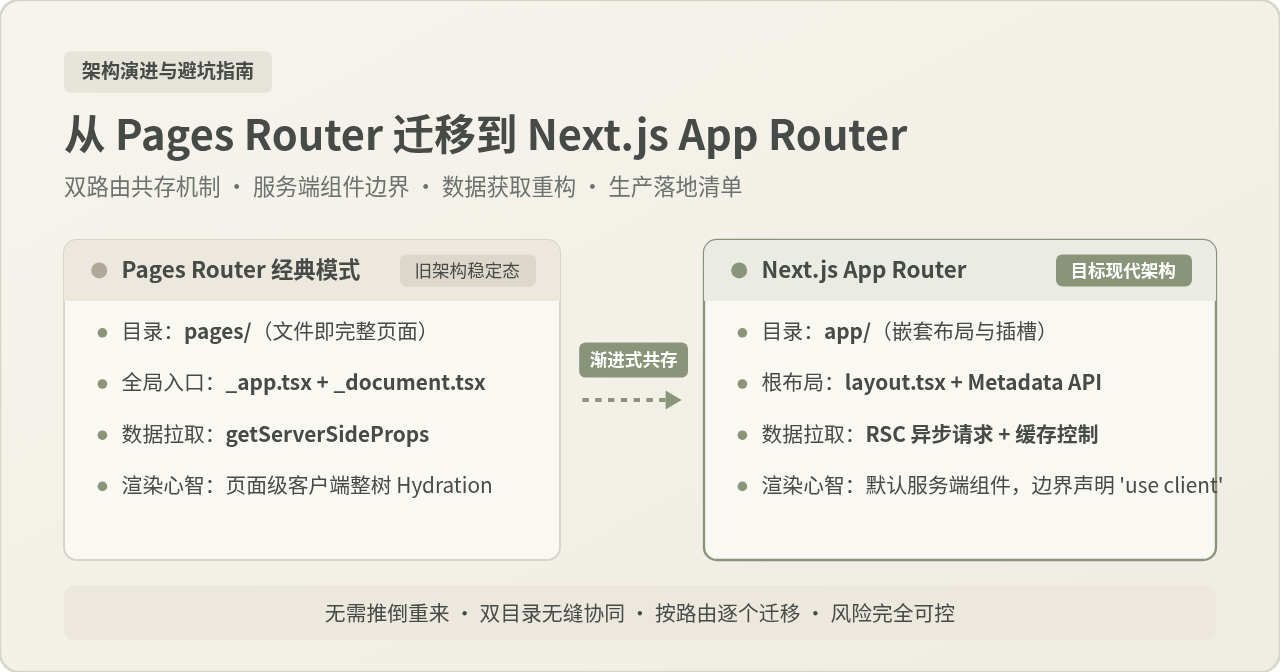
基于Next.js实现在线Excel:从环境搭建到组件集成
本文详解如何利用Next.js框架构建在线Excel应用。内容涵盖Node.js环境配置、Next.js项目初始化,以及通过npm安装SpreadJS依赖。重点讲解如何在React组件中集成在线表格编辑器与运行时,并针对Next.js的服务端渲染(SSR)特性,使用dynamic导入配置ssr: false以规避DOM操作错误,最终实现完整的在线表格编辑功能。
若需从零开始使用 React 开发完整的 Web 应用程序,具体步骤为何?这并非如“将大象装入冰箱”那般简单,仅分三步:打开冰箱门、抱起大象、将其塞入即可。

实际开发中需考量诸多细节,例如:
- 必须借助打包工具(如 webpack)对代码进行打包,并配合 Babel 等编译器执行代码转换。
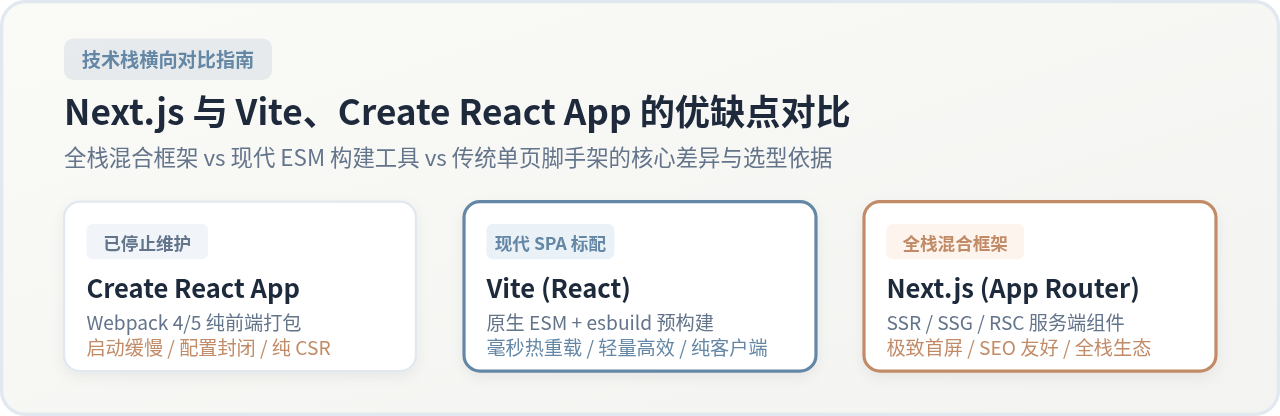
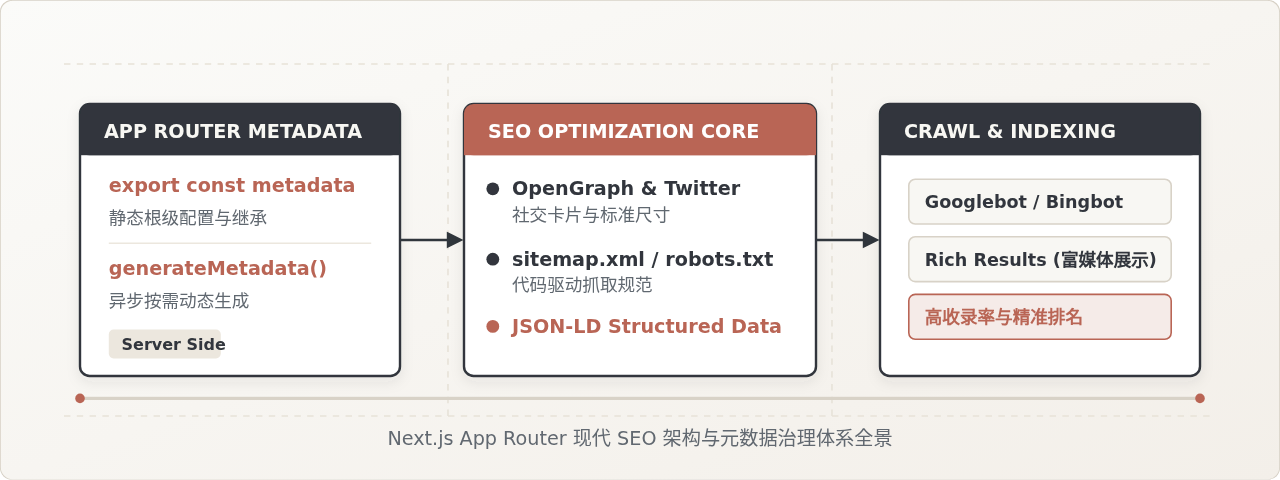
- 需针对生产环境进行优化,例如实施代码拆分。部分页面需采用预渲染以提升性能及 SEO 表现,同时可能涉及服务器端渲染或客户端渲染的选择。
- 必须编写服务器端代码,以便将 React 应用程序与数据存储建立连接。
- 上述问题均需重点关注,而 Next.js 的问世完美解决了这些痛点,仅需一个框架即可全部处理。
- Next.js 框架具备恰当的抽象层级与卓越的“开发者体验”,涵盖静态及服务器端混合渲染、TypeScript 支持、智能打包、路由预取等功能。其无需额外配置即可开箱即用,使开发团队在编码时拥有如“雨天配巧克力”般流畅的体验。

认识 Next.js
Next.js 是一款 React 开发框架,助力构建 React 应用程序。作为一款轻量级的 React 服务端渲染应用框架,它内置了多项功能,包括但不限于:
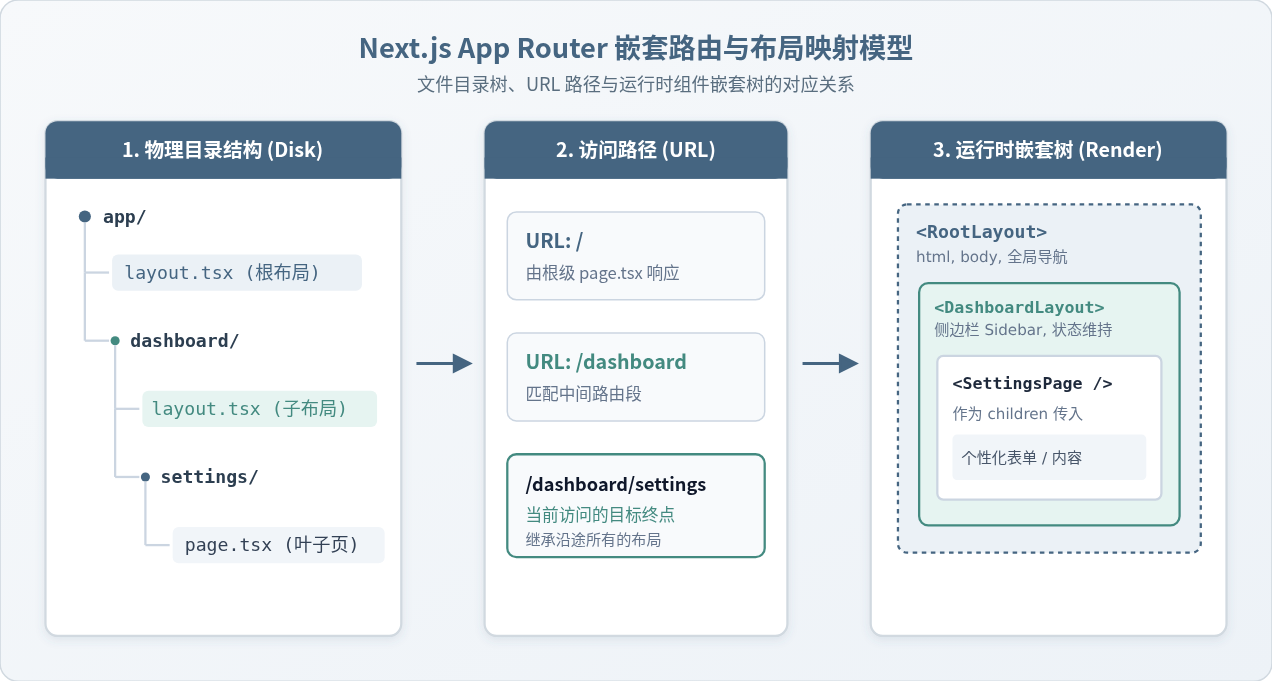
- 直观且基于页面的路由系统(支持动态路由)
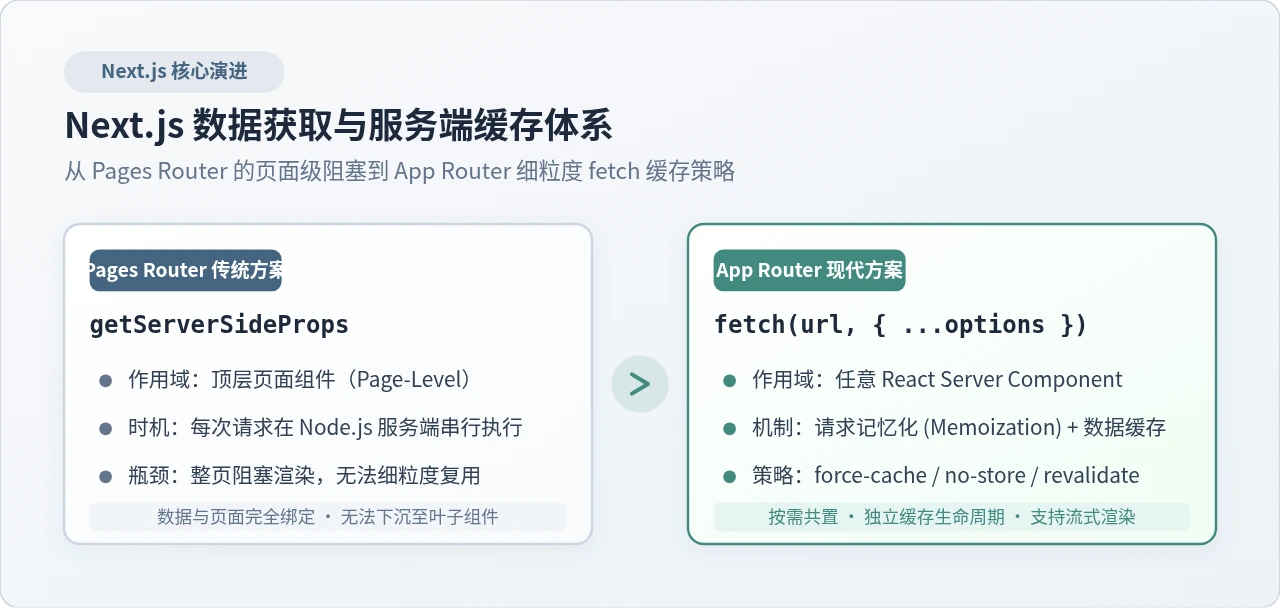
- 预渲染——支持页面级的静态生成 (SSG) 与服务器端渲染 (SSR)
- 自动代码拆分,提升页面加载速度
- 具备优化预取功能的客户端路由
- 内置 CSS 和 Sass 支持,并兼容任何 CSS-in-JS 库
- 开发环境支持快速刷新
- 利用 Serverless Functions 及 API 路由构建 API 功能
- 完全可扩展
目前,Next.js 已被数以万计的网站和 Web 应用程序采用,其中包括众多享誉世界的知名公司及头部品牌。其显而易见的易用性牢牢吸引了用户,无论是企业用户还是小微开发者,从基础框架到发布运维,它均提供了相应的解决方案。

接下来,我们将基于 Next.js 实现类 Excel 控件的在线表格编辑功能。
实战之旅
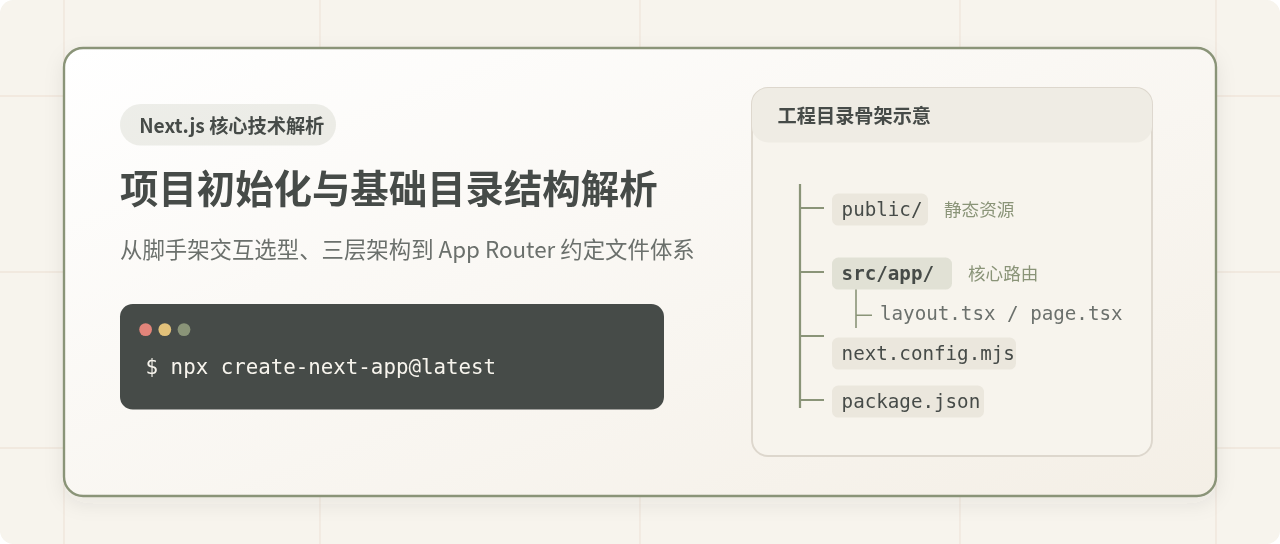
首先需要安装 Node.js,且 Node.js 版本需高于 10.13。安装流程可参考:https://nodejs.org/en/。安装完成后,即可创建 Next.js 应用。打开终端窗口,进入创建应用的程序目录,然后执行以下命令:
# 其背后的工作是通过调用create-next-app工具完成的,该工具会创建一个Next.js应用程序。
npx create-next-app nextjs-spreadjs安装完成后执行npm run dev,若项目能正常启动,则表明工程已正常创建。默认创建好的工程会启动在 3000 端口,展示如下:
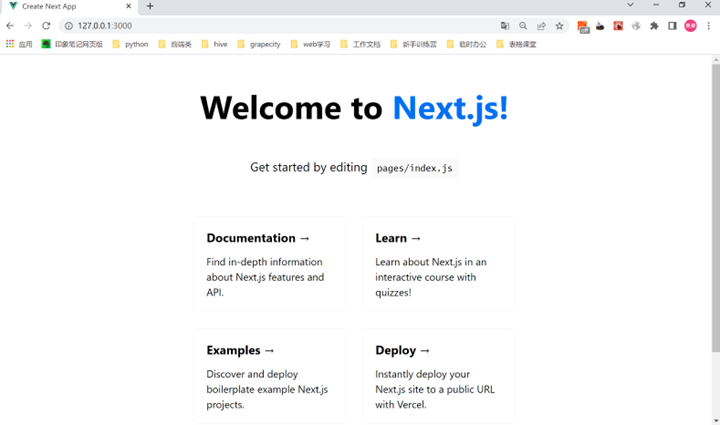
随后,可删除项目 pages 下 index.js 中不必要的内容元素,在项目根路径下面加载我们接下来写好的类 Excel 表格控件。
最终展示效果如图:
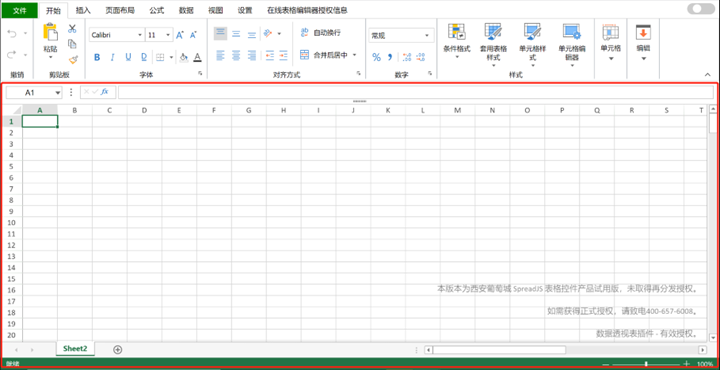
其中红色区域为表格主体,上方的工具栏是在线表格编辑器。在实际项目中,我们可以单独引入组件运行时,也可以将在线表格编辑区全部引入(在线表格编辑器会包含一个与之关联的运行时)。首先,我们需要在 package.json 中加入如下依赖:
"@grapecity/spread-sheets": "15.1.0",
"@grapecity/spread-sheets-react": "15.1.0",
"@grapecity/spread-excelio": "15.1.0",
"@grapecity/spread-sheets-charts": "15.1.0",
"@grapecity/spread-sheets-print": "15.1.0",
"@grapecity/spread-sheets-pdf": "15.1.0",
"@grapecity/spread-sheets-barcode": "15.1.0",
"@grapecity/spread-sheets-shapes": "15.1.0",
"@grapecity/spread-sheets-resources-zh": "15.1.0",
"@grapecity/spread-sheets-languagepackages": "15.1.0",
"@grapecity/spread-sheets-pivot-addon": "15.1.0",
"@grapecity/spread-sheets-tablesheet": "15.1.0",
"@grapecity/spread-sheets-designer": "15.1.0",
"@grapecity/spread-sheets-designer-resources-cn": "15.1.0",
"@grapecity/spread-sheets-designer-react": "15.1.0"
接下来,我们在项目根目录下新建 components 文件夹,并创建 OnlineDesigner.js 文件,在该文件中,我们引入 spreadjs 相关资源,并引入组件运行时。详细代码如下所示:
import React,{useState,useEffect} from "react"
import '@grapecity/spread-sheets-resources-zh';
import GC from '@grapecity/spread-sheets'
import {SpreadSheets,Worksheet} from '@grapecity/spread-sheets-react'
import '@grapecity/spread-sheets/styles/gc.spread.sheets.excel2013lightGray.css'
GC.Spread.Common.CultureManager.culture("zh-cn");
export default function OnlineSpread(){
    const [spread,setSpread] = useState(null)
    const initSpread = (entity) => {
        setSpread(entity)
        //获取活动工作表
        let sheet = entity.getActiveSheet()
        //设置数据
        sheet.setValue(0,0,'Grapecity')
    }
    return(
        <>
            <SpreadSheets
                hostStyle={{height:'98vh'}}
                workbookInitialized={initSpread}
            ></SpreadSheets>
        </>

    )
}
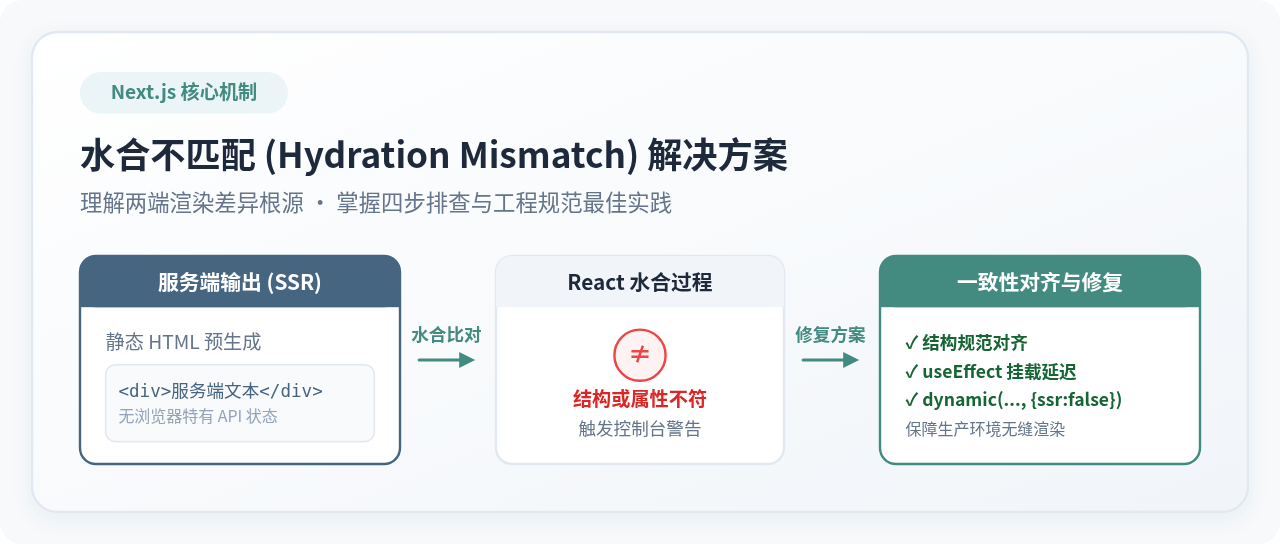
创建完成之后,我们需要在 pages 目录下的 index.js 中引入定义好的组件。这里要注意的时,在引入组件时不要去使用服务端渲染(SSR),否会出现document undefined的错误,这种错误,一般和nodejs无法操作dom对象有关,具体的引入方法为:
const OnlineSpread = dynamic(() => import('../components/OnlineSpread.js'),{
  ssr: false
})
引入完成之后,我们就可以在当前页面中使用了,精简index.js中的代码,最终代码如下:
import Head from 'next/head'
import Image from 'next/image'
import dynamic from 'next/dynamic'
const OnlineSpread = dynamic(() => import('../components/OnlineSpread.js'),{
  ssr: false
})
const OnlineDesigner = dynamic(() => import('../components/OnlineDesigner.js'),{
  ssr: false
})
export default function Home() {
  return (
    <div>
        <Head>
          <title>Nextjs-SPreadJS</title>
          <meta name="description" content="Generated by create next app" />
        </Head>
        <OnlineSpread/>
    </div>

  )
}
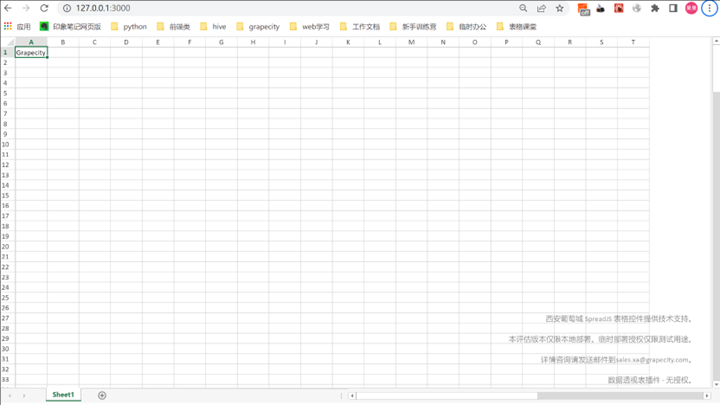
执行npm run dev,显示效果如下:
接下来。我们需要继续在components文件夹下新建一个OnlineDesigner.js,引入在线表格编辑器:
import React,{useState,useEffect} from "react"
import '@grapecity/spread-sheets-designer-resources-cn';
import "@grapecity/spread-sheets/styles/gc.spread.sheets.excel2013white.css"
import '@grapecity/spread-sheets-designer/styles/gc.spread.sheets.designer.min.css'
import "@grapecity/spread-sheets-tablesheet";
import "@grapecity/spread-sheets-barcode";
import "@grapecity/spread-sheets-charts";
import "@grapecity/spread-sheets-shapes";
import "@grapecity/spread-sheets-languagepackages";
import "@grapecity/spread-sheets-print";
import "@grapecity/spread-sheets-pdf";
import "@grapecity/spread-sheets-pivot-addon";
import "@grapecity/spread-sheets-resources-zh";
import "@grapecity/spread-sheets-designer-resources-cn";
import {Designer} from '@grapecity/spread-sheets-designer-react';
import "@grapecity/spread-sheets-resources-zh"
import GC from "@grapecity/spread-sheets"
GC.Spread.Common.CultureManager.culture('zh-cn')
export default function OnlineDesigner(){
    const [designer,setDesigner] = useState(null)
    const initDesigner = (entity) => {
        setDesigner(entity)
        let spread = entity.getWorkbook()
        let sheet = spread.getActiveSheet()
        sheet.setValue(0,0,'Grapecity')
    }
    return(
        <>
            <Designer
                styleInfo={{height:'98vh'}}
                designerInitialized={initDesigner}
            ></Designer>
        </>

)
}
编写完成之后,在index.js中引入集成即可:
import Head from 'next/head'
import Image from 'next/image'
import dynamic from 'next/dynamic'
const OnlineDesigner = dynamic(() => import('../components/OnlineDesigner.js'),{
  ssr: false
})
export default function Home() {
  return (
    <div>
        <Head>
          <title>Nextjs-SPreadJS</title>
          <meta name="description" content="Generated by create next app" />
        </Head>
       {/* <OnlineSpread/> */}
       <OnlineDesigner/>
    </div>

  )
}
执行npm run dev,显示效果如下:
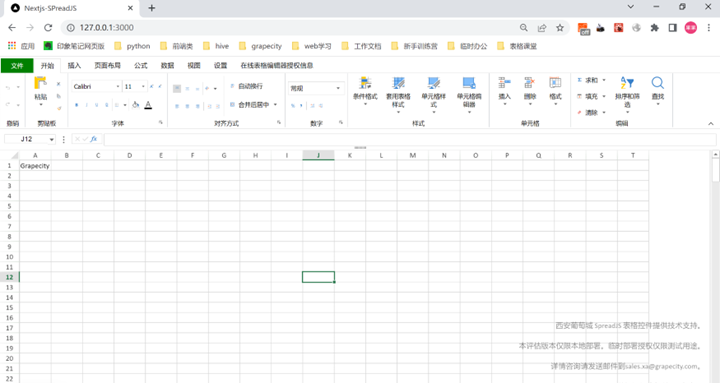
到这里我们就顺利完成了基于Next.js实现在线表格编辑功能。本文内实例获取地址:https://gitee.com/GrapeCity/nextjs-spreadjs
大家如果对更多应用实例感兴趣,可以查看:https://demo.grapecity.com.cn/spreadjs/gc-sjs-samples/index.html
到此这篇关于基于 Next.js实现在线Excel的文章就介绍到这了,更多相关Next.js在线Excel内容请搜索本站以前的文章或继续浏览下面的相关文章希望大家以后多多支持本站!
React.js 新手入门:环境搭建与第一个组件开发
2026-11-03 19:40:05
怎么在 UmiJS 中管理全局状态和数据流
2026-11-02 09:23:50
React表单处理:控制与非控制组件实战指南
2026-11-01 04:11:20
JavaScript 使用 showdown 实现 markdown 预览功能
2026-10-31 11:28:47
前后端分离架构下,JavaScript与JSP的角色演变及替代方案
2026-10-30 18:41:20