

利用Canvas与JS实现鼠标交互粒子特效
本文通过分步讲解,展示如何使用少量JavaScript代码在HTML5 Canvas上实现多种鼠标交互特效。从静态圆到鼠标跟随,再到动态粒子系统、颜色渐变、拖尾效果及粒子间连线,详细解析核心逻辑与API应用,帮助开发者快速掌握Canvas动画制作技巧。
首先展示最终实现的视觉效果。
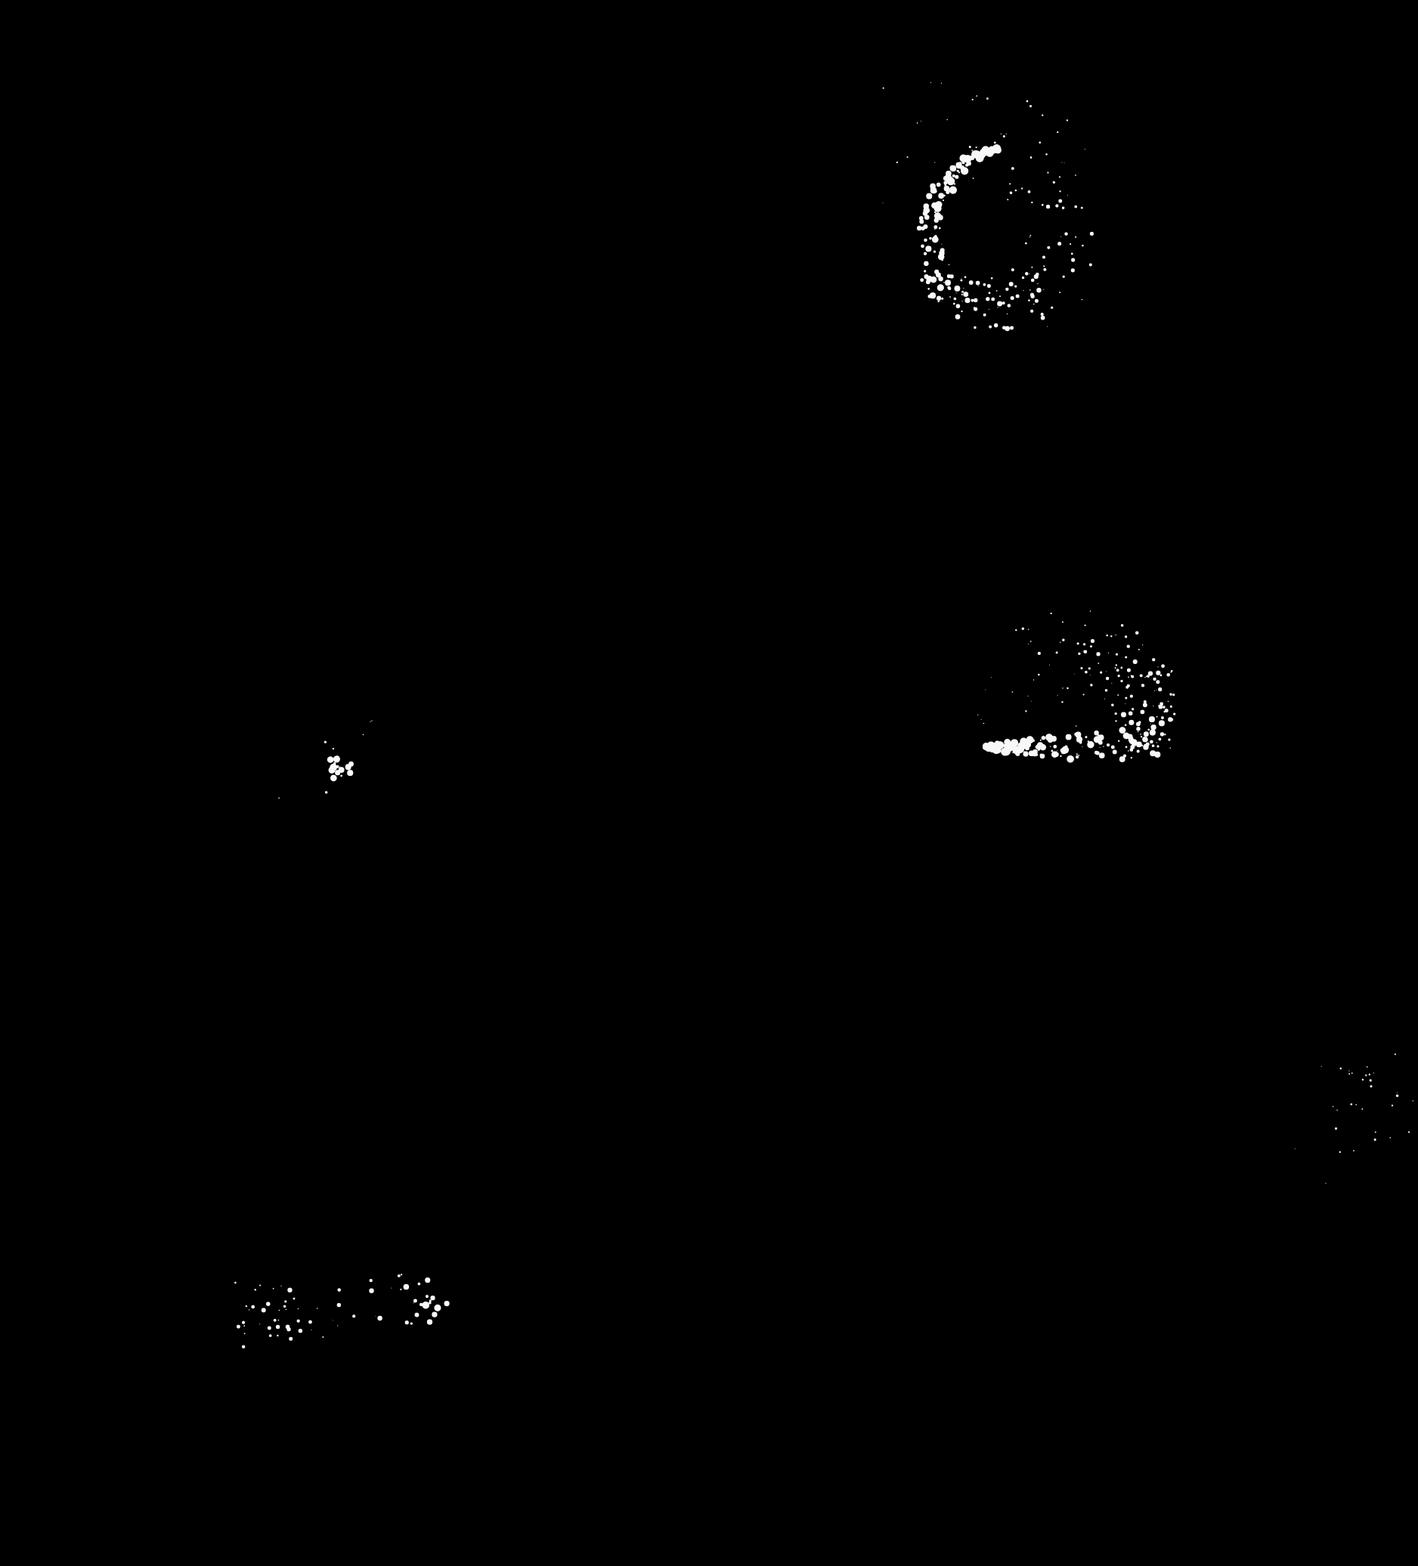
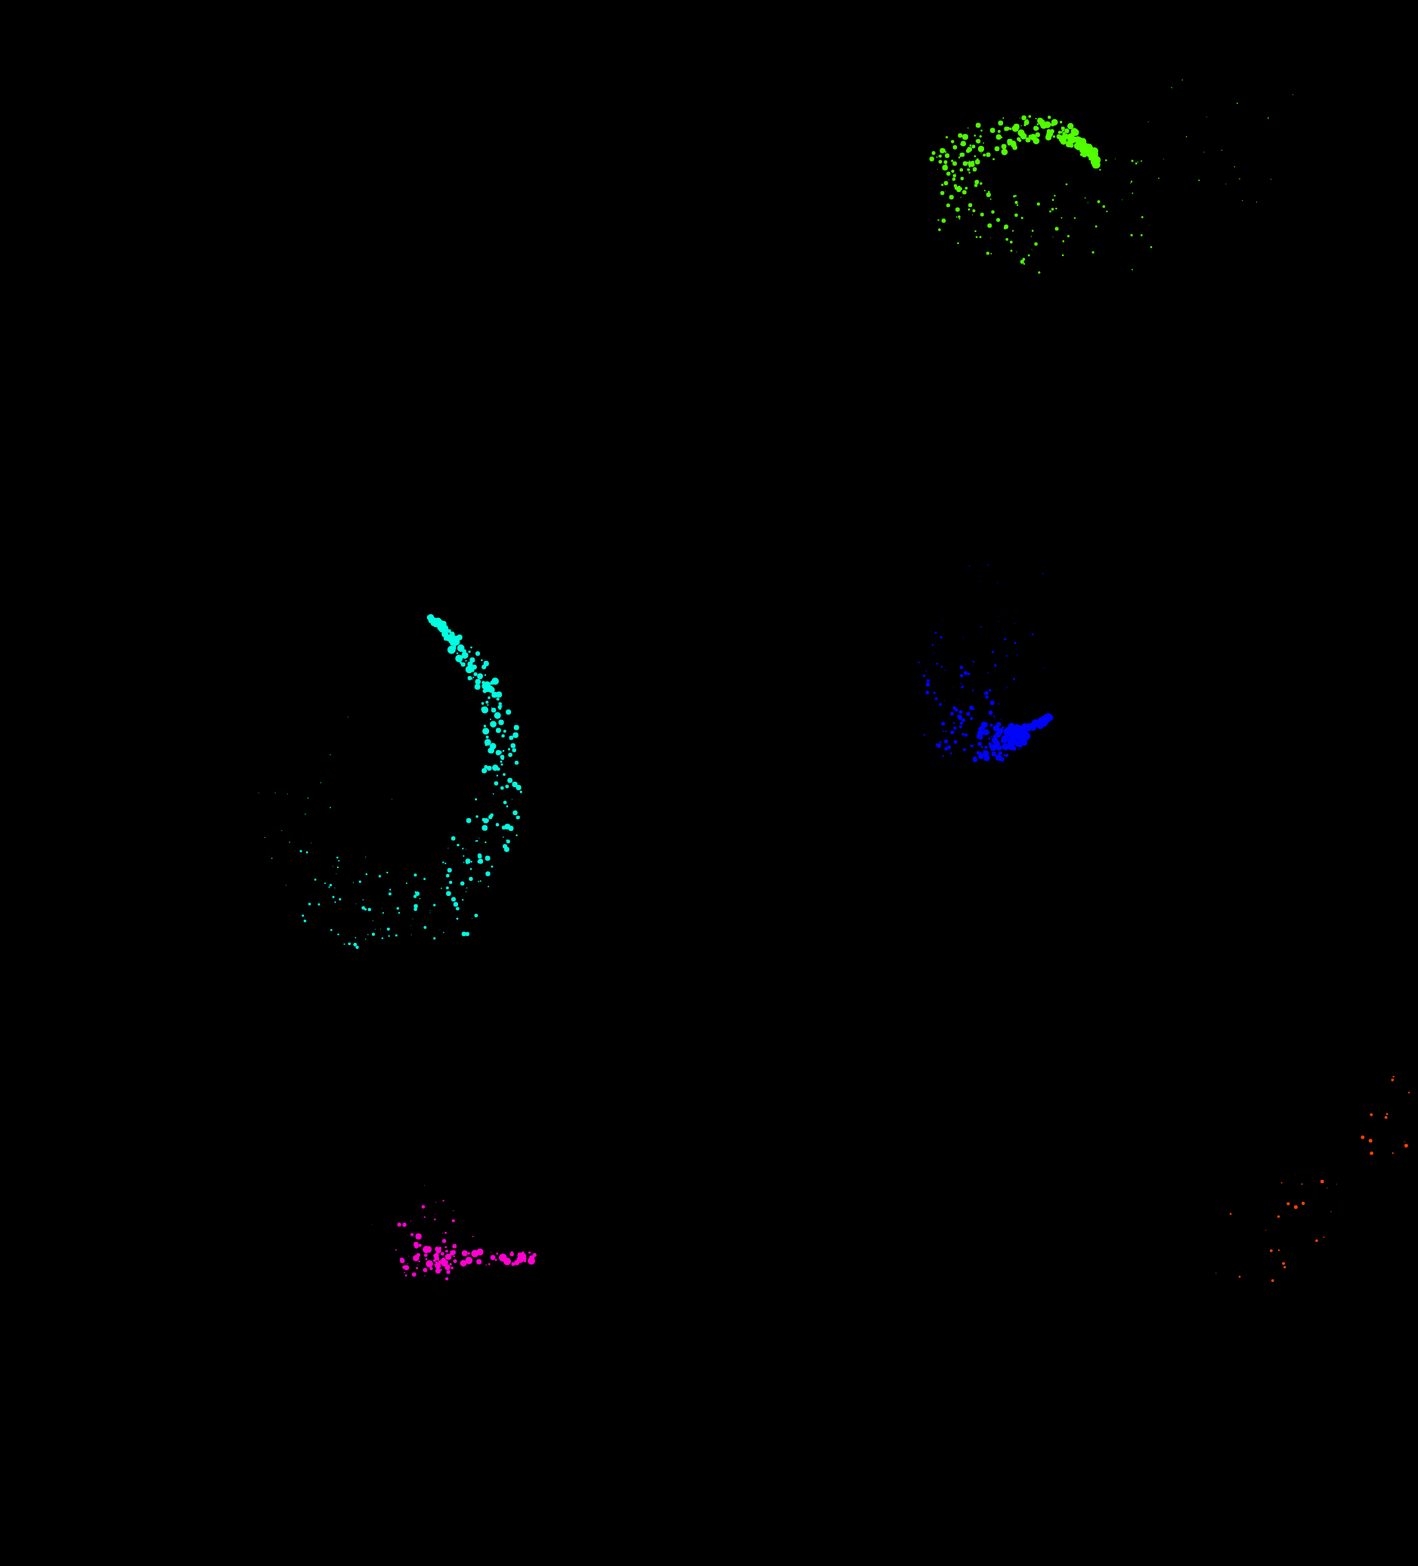
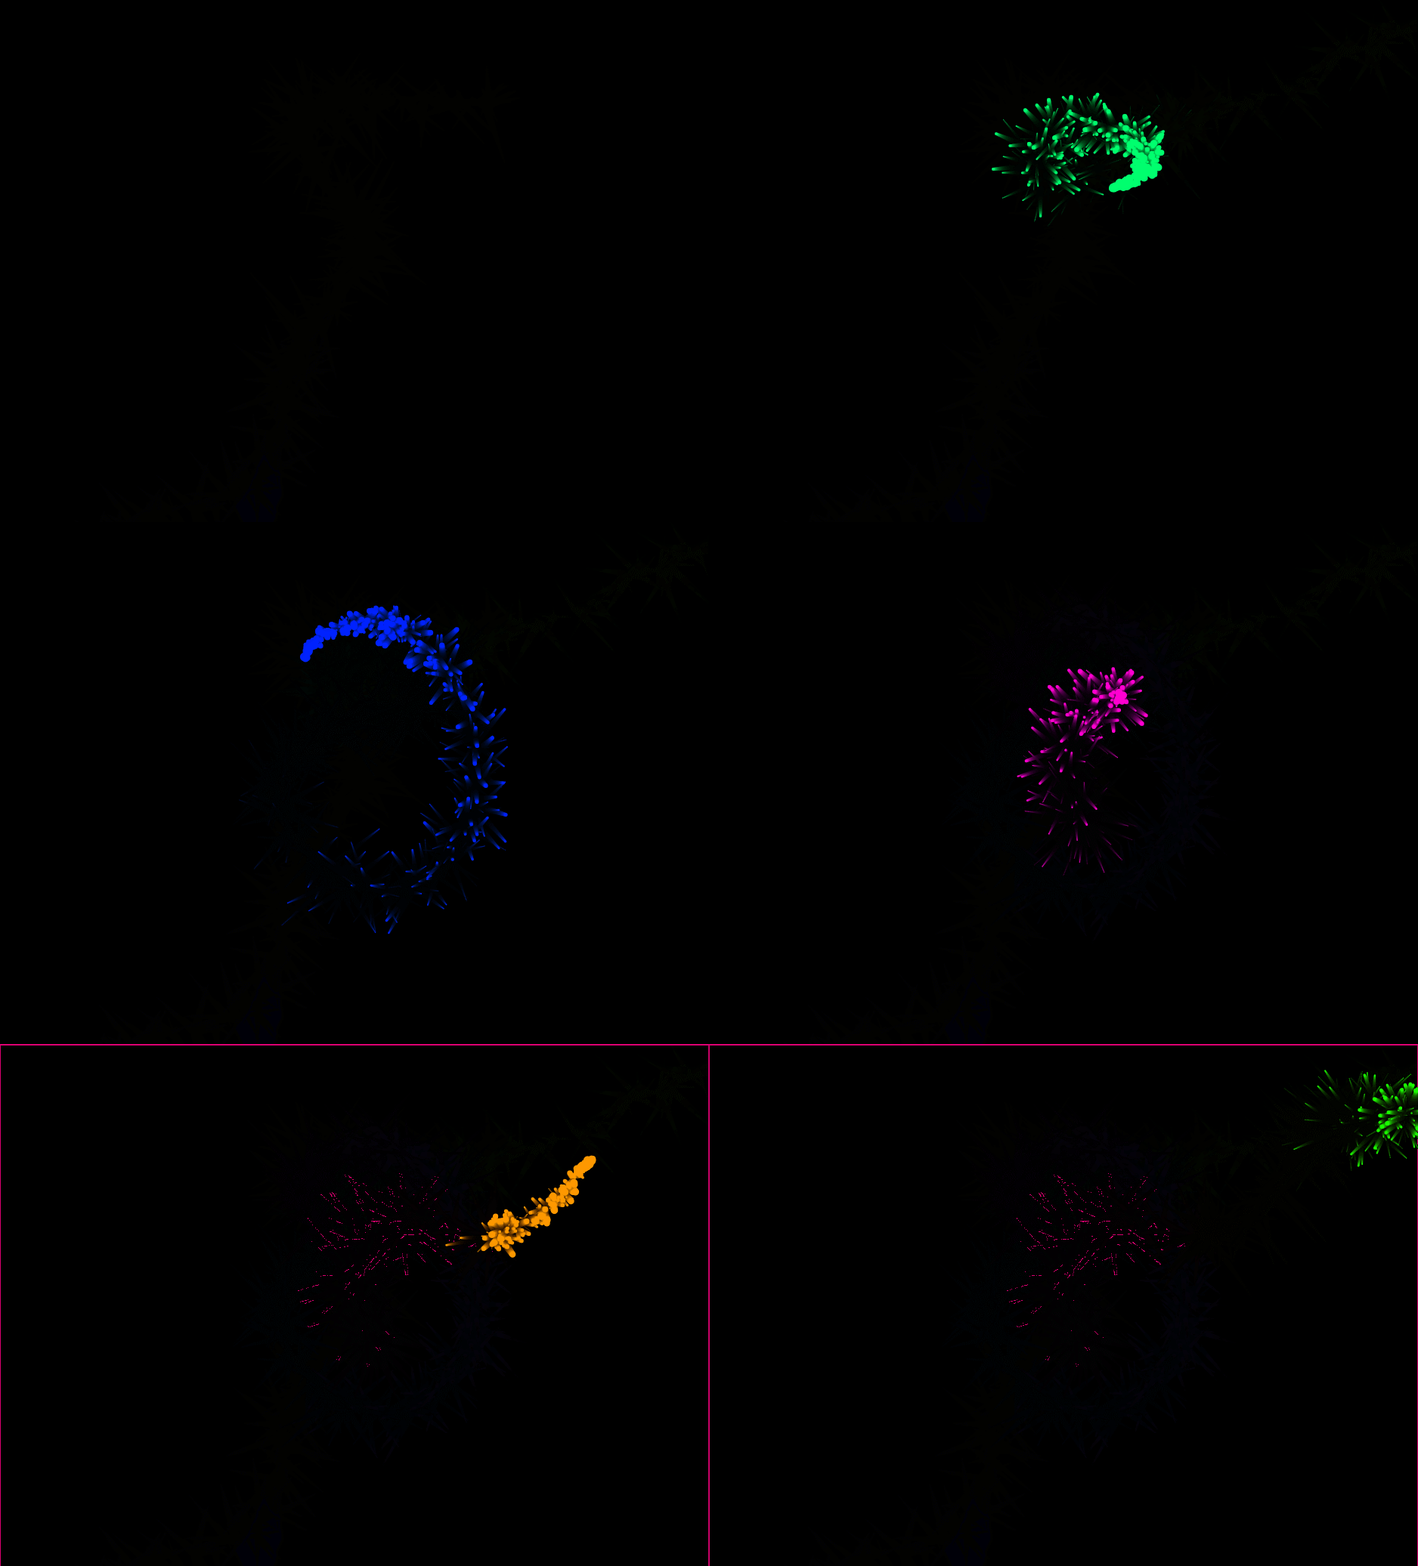
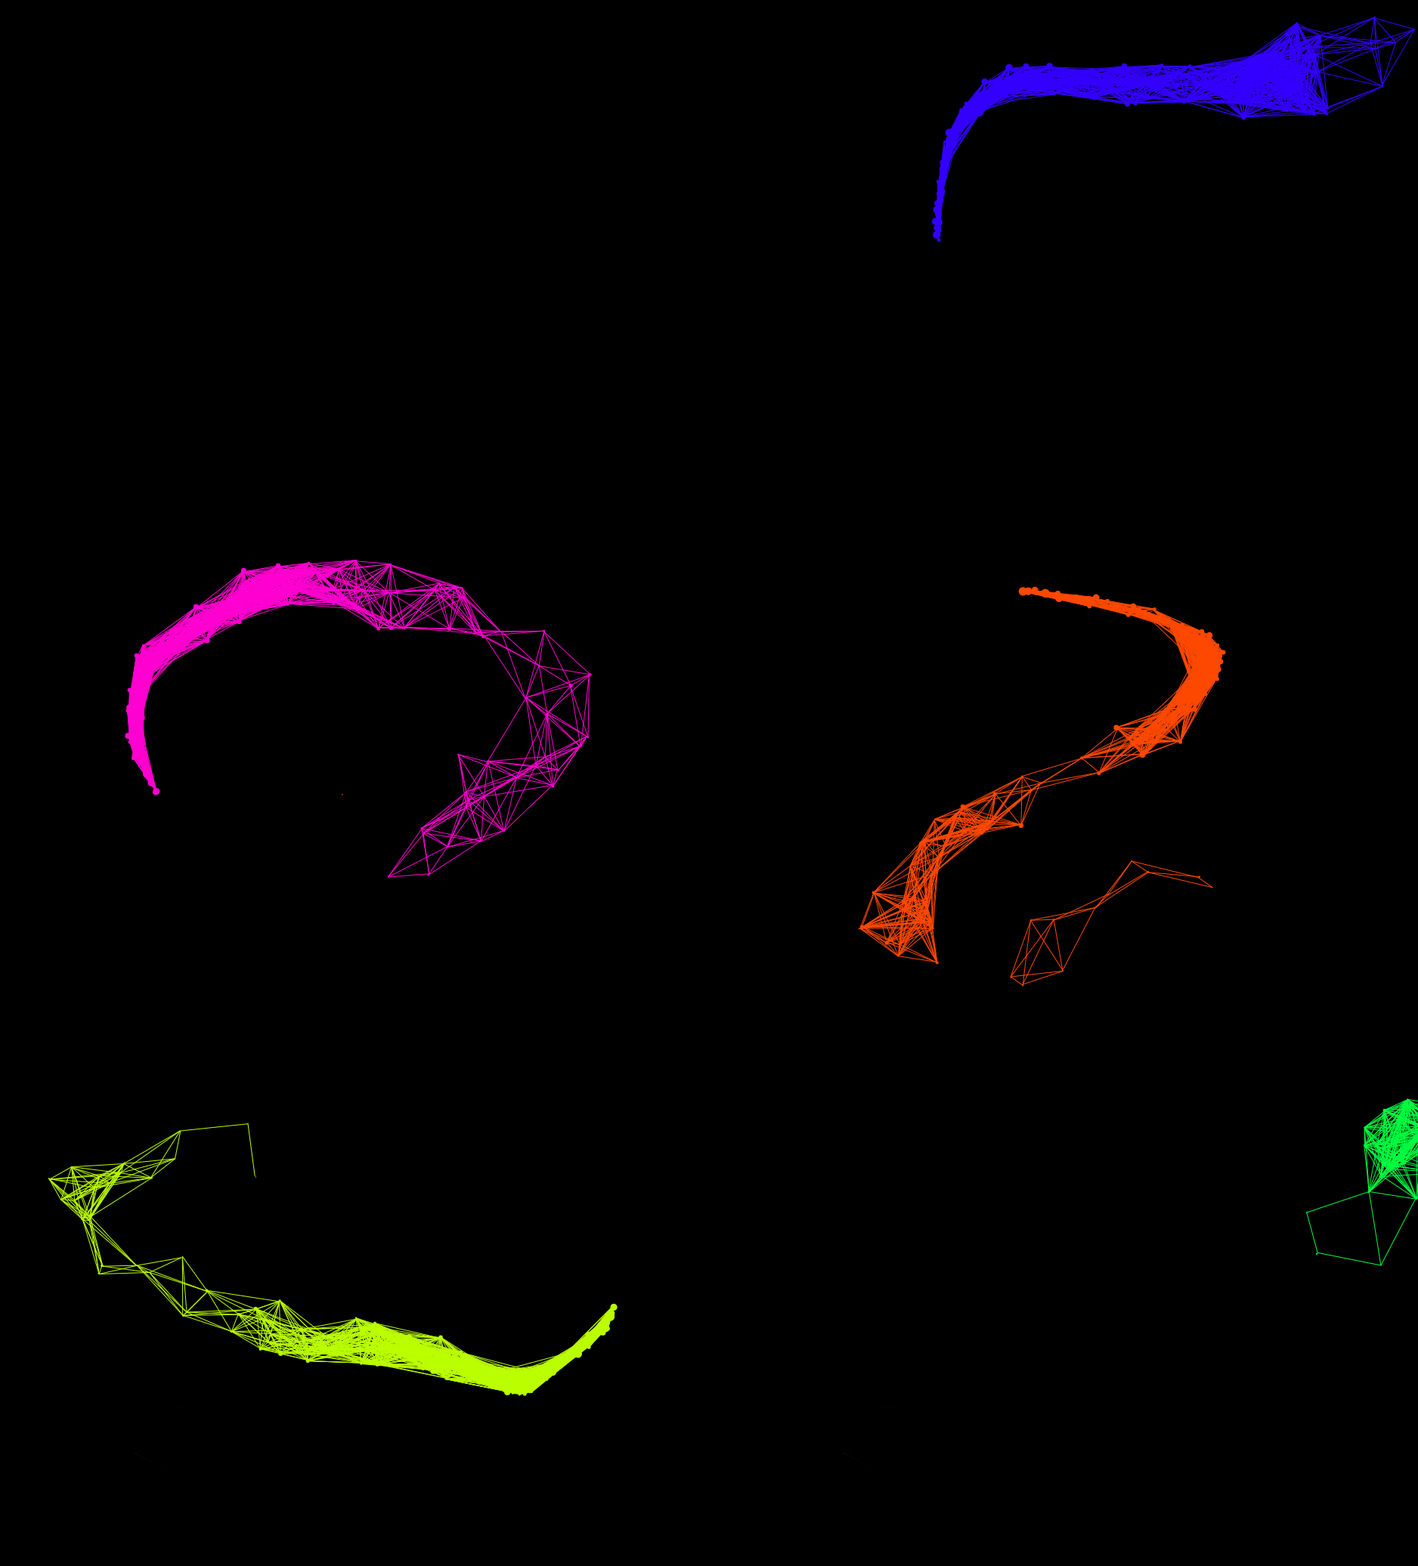
本文示例代码源自YouTube上一位名为Franks的开发者所发布的Canvas教学视频。该系列视频涵盖了丰富的Canvas应用,极具学习价值。鉴于作者对Canvas掌握有限,此处仅作为学习笔记整理。示例页面结构极为简洁,仅包含一个Canvas元素,故省略HTML部分,重点聚焦于JavaScript核心逻辑。
1.绘制基础圆形
首先从绘制一个静态圆形开始,仅需掌握少量基础API即可。MDN文档中有详细规范,此处不再赘述,直接参考JavaScript实现代码:
const canvas = document.querySelector('#canvas');
const ctx = canvas.getContext('2d');
canvas.width = window.innerWidth;
canvas.height = window.innerHeight;
function drawCircle() {
 ctx.beginPath();
 ctx.fillStyle = 'blue';
 ctx.arc(10, 10, 10, 0, Math.PI * 2);
 ctx.fill();
 ctx.closePath();
}
drawCircle();
此时,一个半径为10px的圆形已绘制完成。即使未曾接触Canvas的用户也能在短时间内完成此操作,步骤十分简单。接下来,我们将在此基础上添加动画效果。
2.鼠标跟随圆形
若希望圆形跟随鼠标移动,需在Canvas上绑定鼠标交互事件。此处主要关注mousemove和click事件,随着鼠标移动,圆的坐标随之更新。动画效果通过requestAnimationFrame实现,代码量略有增加:
const mouse = {};
canvas.addEventListener('mousemove', (e) => {
 mouse.x = e.x;
 mouse.y = e.y;
});
canvas.addEventListener('click', (e) => {
 mouse.x = e.x;
 mouse.y = e.y;
});
canvas.addEventListener('mouseout', () => {
 mouse.x = mouse.y = undefined;
});
function drawCircle() {
 ctx.beginPath();
 ctx.fillStyle = 'blue';
 ctx.arc(mouse.x, mouse.y, 10, 0, Math.PI * 2);
 ctx.fill();
 ctx.closePath();
}
function animate() {
 ctx.clearRect(0, 0, canvas.width, canvas.height);
 drawCircle();
 requestAnimationFrame(animate);
}
animate();
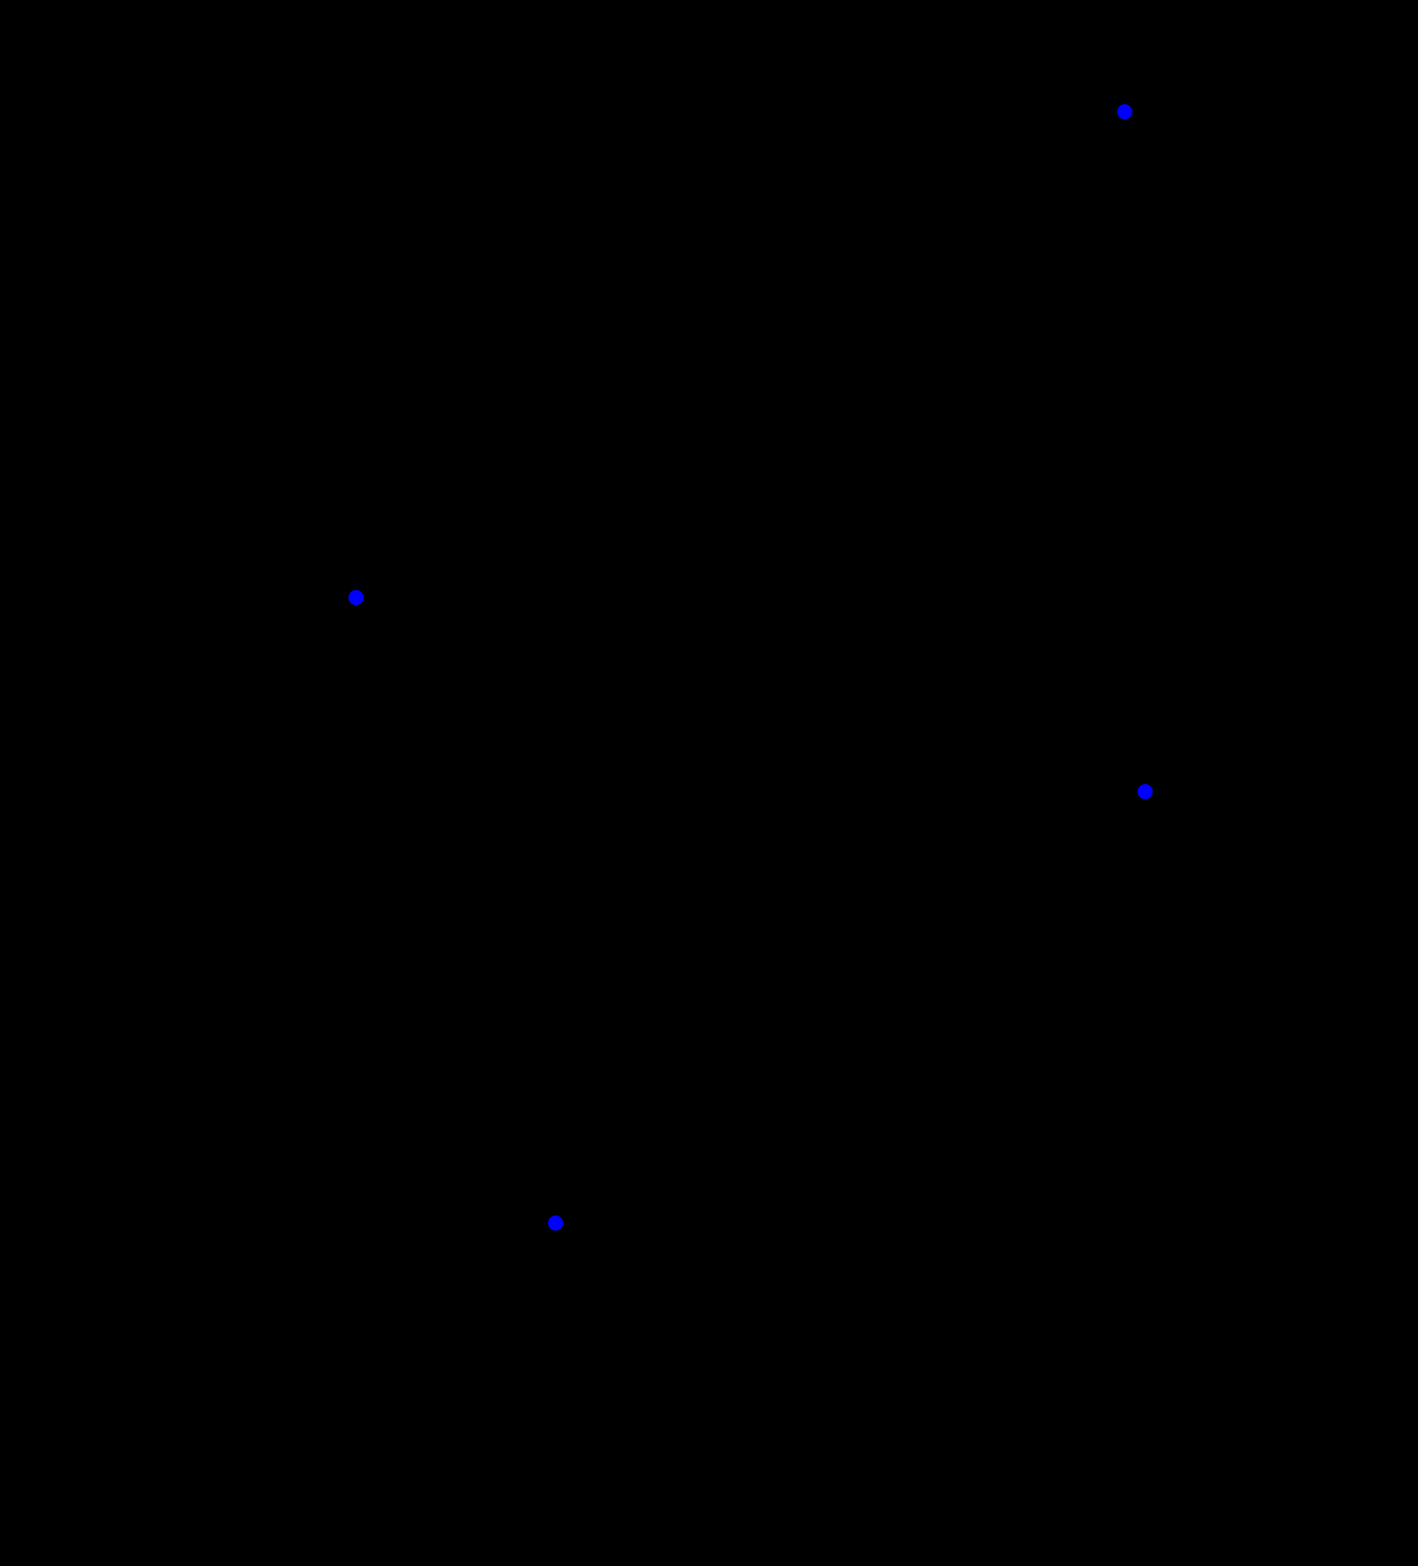
运行效果如上图所示,小球已能随鼠标移动,实现过程依然简单。
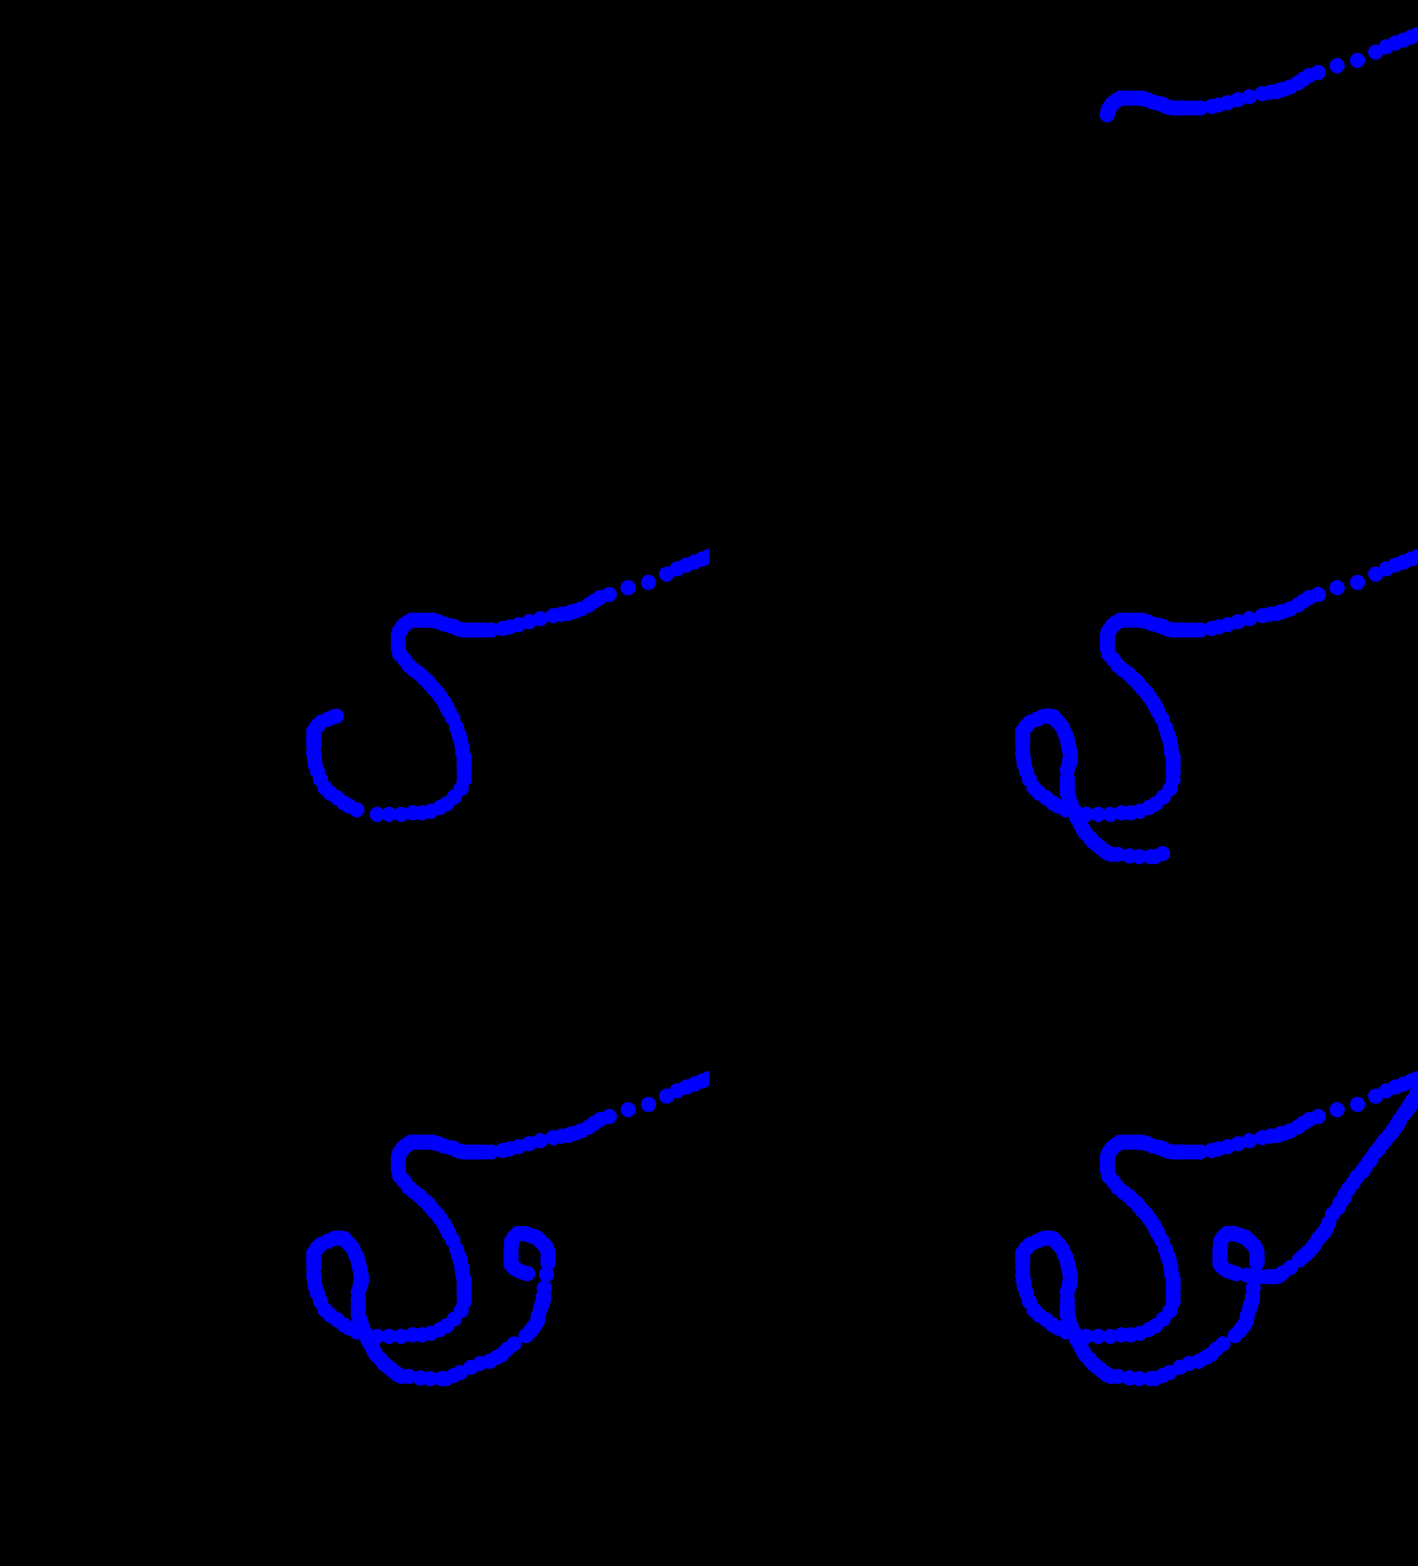
若注释掉animate函数中的ctx.clearRect,效果将呈现为:
3.鼠标拖动的粒子系统
粒子即多个圆形,具备不同的位置、大小和速率。结合鼠标事件对象信息初始化粒子即可。
const mouse = {};
// 点击或鼠标移动时往数组添加新的粒子对象
function addNewParticles(e) {
 mouse.x = e.x;
 mouse.y = e.y;
 Array.apply(null, { length: 2 }).forEach(() => {
  particlesArray.push(new Particle());
 });
}
canvas.addEventListener('mousemove', addNewParticles);
canvas.addEventListener('click', addNewParticles);
const particlesArray = [];
class Particle {
 constructor() {
  this.x = mouse.x;
  this.y = mouse.y;
  this.size = Math.random() * 5 + 1;
  this.speedX = Math.random() * 3 - 1.5; // -1.5 ~ 1.5,如果是负数往左边移动,正数往右边移动,speedY同理
  this.speedY = Math.random() * 3 - 1.5;
 }
 update() {
  this.size -= 0.1; // 圆半径逐渐变小
  this.x += this.speedX; // 更新圆坐标
  this.y += this.speedY;
 }
 draw() {
  ctx.beginPath();
  ctx.fillStyle = '#fff';
  ctx.arc(this.x, this.y, this.size, 0, Math.PI * 2);
  ctx.fill();
  ctx.closePath();
 }
}
function handleParticles() {
 for (let i = 0; i < particlesArray.length; i++) {
  particlesArray[i].update();
  particlesArray[i].draw();
  if (particlesArray[i].size <= 0.3) { // 删除半径太小的粒子
   particlesArray.splice(i, 1);
   i--;
  }
 }
}
function animate() {
 handleParticles();
 requestAnimationFrame(animate);
}
animate();
此时实现了文章开头的第一种动画效果。主要新增了一个Particle类,用于封装粒子的更新与绘制逻辑,并根据条件删除半径过小的粒子。尽管代码仅几十行,但视觉效果良好。
4.颜色渐变的粒子
为实现颜色渐变,视频作者采用了HSL颜色模型。相较于RGB模式,HSL通过单一变量即可控制颜色,操作更为便捷。在第三段代码基础上稍作修改即可:
let hue = 0; // 色相
......
class Particle {
 ......
 draw() {
  ctx.beginPath();
  ctx.fillStyle = `hsl(${hue}, 100%, 50%)`;
  ctx.arc(this.x, this.y, this.size, 0, Math.PI * 2);
  ctx.fill();
  ctx.closePath();
 }
}
function handleParticles() {
 ......
}
function animate() {
    hue++;
    handleParticles();
    requestAnimationFrame(animate);

}
animate();
通过动态设置hue值并改变圆的填充样式,即可实现颜色渐变的粒子效果,如开头第二幅动画所示。在此基础之上,还可尝试其他变体,例如:
function animate() {
 // ctx.clearRect(0, 0, canvas.width, canvas.height);
 ctx.fillStyle = 'rgba(0, 0, 0, 0.2)';
 ctx.fillRect(0, 0, canvas.width, canvas.height);
 hue++;
 handleParticles();
 requestAnimationFrame(animate);
}
此时粒子具备拖尾效果,对应文章开头的第三张动画。其原理是通过叠加整个画布的透明度,使上一帧的绘画效果逐渐变淡直至消失,视觉上呈现渐变拖尾。至此,效果愈发丰富,而代码量依然精简。
5.粒子间连线效果
最后实现粒子与粒子之间的连线,即文章开头的第四幅动画效果。在前文基础上,增加绘制两个圆之间直线的逻辑即可。这需要计算两个圆心的距离,因此需改造handleParticles函数,其他部分保持不变:
function handleParticles() {
 for (let i = 0; i < particlesArray.length; i++) {
  particlesArray[i].update();
  particlesArray[i].draw();
  // 从当前粒子开始,往后遍历后面的粒子,依次计算与之对应的距离
  for (let j = i + 1; j < particlesArray.length; j++) {
   const dx = particlesArray[i].x - particlesArray[j].x;
   const dy = particlesArray[i].y - particlesArray[j].y;
   const distance = Math.sqrt(dx * dx + dy * dy); // 初中知识
   if (distance < 100) { // 距离太大舍弃,否则视觉效果不好
    // 绘制直线
    ctx.beginPath();
    ctx.strokeStyle = `hsl(${hue}, 100%, 50%)`;
    ctx.moveTo(particlesArray[i].x, particlesArray[i].y);
    ctx.lineTo(particlesArray[j].x, particlesArray[j].y);
    ctx.stroke();
    ctx.closePath();
   }
  }
  if (particlesArray[i].size <= 0.3) {
   particlesArray.splice(i, 1);
   i--;
  }
 }
}
通过添加循环与直线绘制逻辑,最终效果得以实现。整体代码量不大,但视觉效果出色。跟随作者完成全流程后,对Canvas的学习兴趣也显著提升。
总结
至此,这篇关于使用几十行JS实现炫酷Canvas交互特效的文章介绍完毕。如需了解更多相关JS实现Canvas交互特效的内容,请搜索本站往期文章或继续浏览后续相关文章,感谢大家的支持!
JavaScript零基础入门:从环境搭建到运行第一段代码
2026-11-05 15:29:58
HTML链接中javascript:void(0)的作用及现代替代方案
2026-11-05 10:07:47
在线调试 JS 时怎么引入 jQuery 或 Vue 等第三方库
2026-11-05 08:53:56
原生JavaScript实现简易颜色选择器原理与代码
2026-11-03 23:22:19
JS原生表单序列化:FormData与URLSearchParams用法详解
2026-11-03 23:13:21