

Vue父子组件通信实战:Props、$refs与$emit详解
本文详细讲解Vue中父子组件通信的三种核心方式。通过实例演示如何使用props实现父传子的单向数据绑定,利用$refs直接调用子组件实例的方法与属性,以及通过$emit实现子组件向父组件传递数据。文章对比了各方法的适用场景与区别,帮助开发者掌握组件间数据交互的最佳实践。
Vue父子组件通信概述
组件是Vue.js的核心特性之一,其实例作用域相互独立,导致不同组件间无法直接共享数据。因此,实现组件间的有效通信是Vue开发中的关键环节。本文将通过props、$ref和$emit这三个核心机制,深入解析父子组件间数据交互的具体实现方法。
在探讨具体通信方案前,首先构建两个基础组件:father.vue和child.vue,作为后续示例的代码基础。
//父组件

<template>
 <div>
 <h1>我是父组件!</h1>
 <child></child>
 </div>
</template>

<script>
import Child from '../components/child.vue'
export default {
 components: {Child},
}
</script>
//子组件

<template>
 <h3>我是子组件!</h3>
</template>

<script>
</script>
代码结构直观清晰:父组件通过import语句引入子组件,并在components选项中完成注册,随后即可在父组件模板中以<child>标签形式嵌入子组件。运行father.vue后的初始界面效果如下:
示例效果一
通过prop实现通信
1.通过prop实现通信
子组件的props选项用于接收来自父组件的数据。需注意,props仅支持单向绑定,即数据只能从父组件流向子组件,无法反向传递。数据传递方式主要分为两种:
(1)静态传递
子组件通过props选项声明自定义属性,父组件在嵌套标签时,可通过该属性向子组件传递固定数据。
 <!-- 父组件 -->

<template>
 <div>
 <h1>我是父组件!</h1>
 <child message="我是子组件一!"></child> //通过自定义属性传递数据
 </div>
</template>

<script>
import Child from '../components/child.vue'
export default {
 components: {Child},
}
</script>
 <!-- 子组件 -->

<template>
 <h3>{{message}}</h3>
</template>
<script>
 export default {
 props: ['message'] //声明一个自定义的属性
 }
</script>
(2)动态传递
除了静态值,实际开发中更多需要动态数据。此时可利用v-bind指令绑定props自定义属性,传递的不再是静态字符串,而是表达式、布尔值、对象等任意类型的值。
 <!-- 父组件 -->

<template>
 <div>
 <h1>我是父组件!</h1>
 <child message="我是子组件一!"></child>

 <!-- 这是一个 JavaScript 表达式而不是一个字符串。-->
 <child v-bind:message="a+b"></child>

 <!-- 用一个变量进行动态赋值。-->
 <child v-bind:message="msg"></child>
 </div>
</template>

<script>
import Child from '../components/child.vue'
export default {
 components: {Child},
 data() {
 return {
  a:'我是子组件二!',
  b:112233,
  msg: '我是子组件三!'+ Math.random()
 }
 }
}
</script>
 <!-- 子组件 -->

<template>
 <h3>{{message}}</h3>
</template>
<script>
 export default {
 props: ['message']
 }
</script>
实现后的界面效果如下:
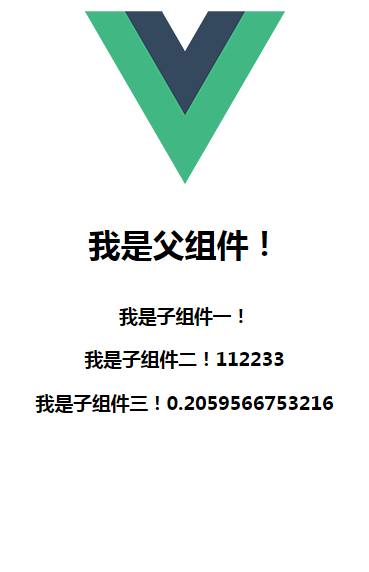
示例效果二
通过$ref实现通信
2.通过$ref 实现通信
官方对ref的解释是:ref用于给元素或子组件注册引用信息,引用信息将注册在父组件的$refs对象上。
若对此感到困惑,这是正常现象。我们可以这样理解:
- 当ref应用于子组件时,它指向组件实例,可视为子组件的索引。通过$refs可访问子组件中定义的属性和方法。
- 当ref应用于普通DOM元素时,引用指向该DOM元素本身。通过$refs可获取DOM元素的属性集合,从而便捷地访问DOM,其作用类似于jQuery选择器。
那么,如何利用$ref实现通信?下面将之前通过prop实现的功能,改用$ref重新实现:
<!-- 父组件 -->

<template>
 <div>
 <h1>我是父组件!</h1>
 <child ref="msg"></child>
 </div>
</template>

<script>
 import Child from '../components/child.vue'
 export default {
 components: {Child},
 mounted: function () {
  console.log( this.$refs.msg);
  this.$refs.msg.getMessage('我是子组件一!')
 }
 }
</script>
 <!-- 子组件 -->

<template>
 <h3>{{message}}</h3>
</template>
<script>
 export default {
 data(){
  return{
  message:''
  }
 },
 methods:{
  getMessage(m){
  this.message=m;
  }
 }
 }
</script>
从上述代码可见,通过ref='msg'可将子组件child的实例赋值给$refs,并通过this.$refs.msg.getMessage()调用子组件的getMessage方法,将参数传递给子组件。以下是console.log(this.$refs.msg)的打印输出,有助于理解通过ref获取的具体内容:
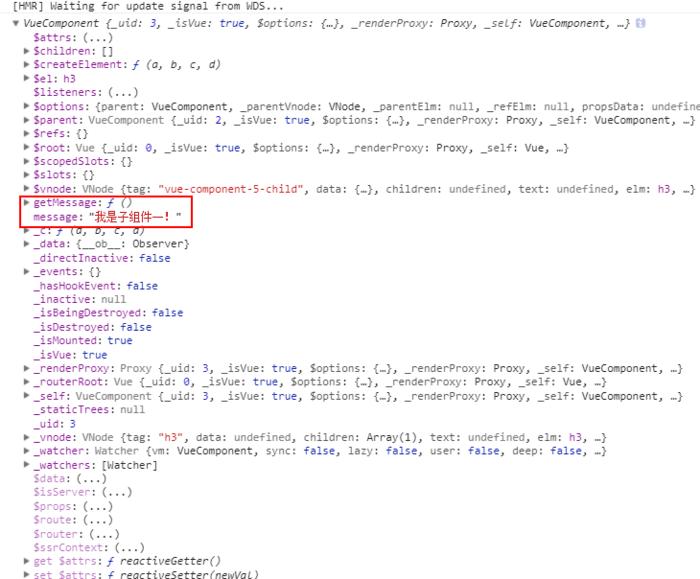
console.log
最终运行效果如下:
示例效果三
此处补充prop与$ref的主要区别:
- prop侧重于数据传递,无法直接调用子组件的属性和方法。例如在创建文章组件时,自定义标题和内容等场景,最适合使用prop。
- $ref侧重于实例索引,主要用于调用子组件的属性和方法,并非数据传递的首选。此外,ref应用于DOM元素时具备选择器功能,这一用途比作为索引更为常见。
通过$emit实现通信
3.通过$emit 实现通信
前两种示例主要展示父组件向子组件通信,而通过$emit可实现子组件向父组件通信。
官网对$emit的解释较为简略,个人理解如下:
vm.$emit( event, arg )$emit用于绑定一个自定义事件event。当该语句执行时,会将参数arg传递给父组件,父组件通过@event监听并接收参数。
<template>
 <div>
 <h1>{{title}}</h1>
 <child @getMessage="showMsg"></child>
 </div>
</template>

<script>
 import Child from '../components/child.vue'
 export default {
 components: {Child},
 data(){
  return{
  title:''
  }
 },
 methods:{
  showMsg(title){
  this.title=title;
  }
 }
 }
</script>
<template>
 <h3>我是子组件!</h3>
</template>
<script>
 export default {
 mounted: function () {
  this.$emit('getMessage', '我是父组件!')
 }
 }
</script>
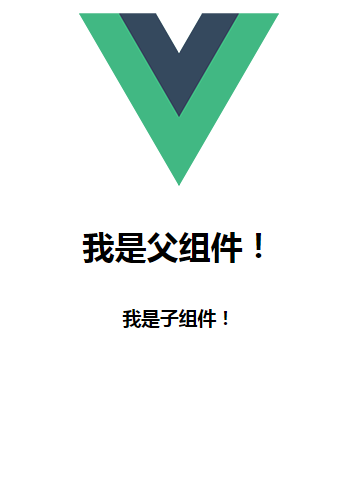
示例效果三
以上就是本文的全部内容,希望对大家的学习有所帮助,也希望大家多多支持本站。
Vue.js 是什么:渐进式 JavaScript 框架的核心优势与适用场景
2026-11-03 20:00:13
为什么JS代码执行了但页面没有跳转
2026-11-03 16:29:09
Vue.js 项目中 Axios 拦截器封装与接口对接实战
2026-11-02 10:22:43
前端PC端自适应开发:两种常见适配方案解析
2026-11-01 03:30:54
Vue3中通过JS全局调用弹窗组件的实现方案
2026-10-31 21:34:31