

基于Web Component的防篡改水印实现方案
本文对比了MutationObserver与Web Component两种实现防篡改水印的技术路径。通过SVG生成高清水印图片,利用CSS强制样式覆盖,并结合Web Component的生命周期钩子自动检测节点篡改或移除,实现高安全性的前端水印方案。
本文核心围绕三个关键点展开:Web Component技术、防篡改机制以及水印生成逻辑。在引入Web Component之前,作者曾利用MutationObserver完成了防篡改水印的初版开发。但在深入理解Web Component的特性后,发现其内部提供的钩子机制天然适合在节点被篡改时触发响应,从而极大地简化了防篡改的实现难度。下文将详细对比MutationObserver与Web Component在实现上的差异。
设计目标
核心目标是设计一个Hook函数,用于将水印插入到指定ref引用的组件内部。关键在于,插入的水印节点必须具备不可篡改的属性,确保其持久存在且无法被常规手段移除或修改。
const { data: username } = useRequest(...)
const ref = useWatermark(username); // 水印组件会插入ref.current对应的DOM节点

return <div ref={ref}>
    {children}
</div>
水印生成原理
实现水印的基本思路是创建一个div元素,将其背景设置为透明的水印图片,并将z-index层级设为10000,使其叠加在站点内容之上,从而形成视觉上的水印效果。
生成水印图
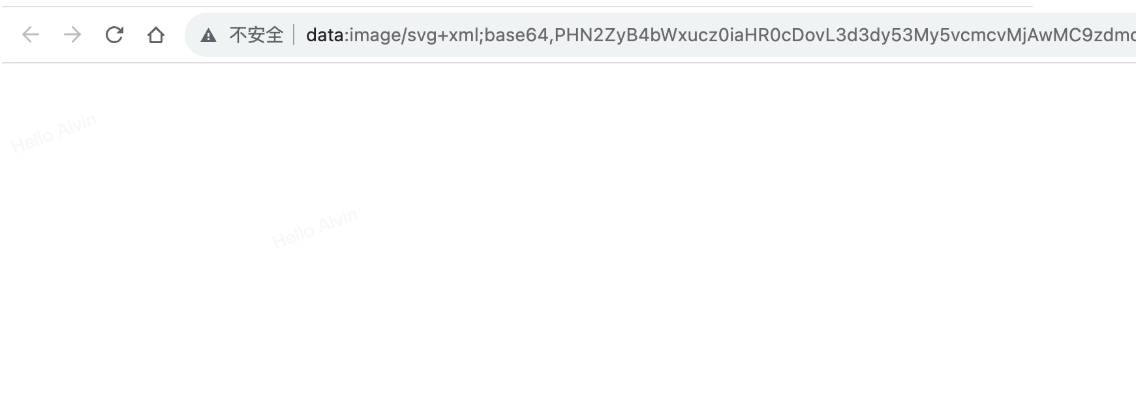
前端可直接生成水印图像,方法包括使用canvas绘制命令或预定义SVG字符串。本文选择SVG字符串方式,因其清晰度更高且实现相对简单。具体做法是定义好svgString,随后将其转换为base64编码格式以便使用。
        const svgString = `<svg xmlns="http://www.w3.org/2000/svg" width="400px" height="146px">
        <text x="10px" y="73px"
            text-anchor="start"
            transform="rotate(-20 0 73)"
            fill="rgba(40, 47, 56, 0.03)"
            font-weight="500"
            font-size="14"
            font-family="Helvetica Neue,Helvetica,Arial,PingFang SC,Hiragino Sans GB,Microsoft YaHei,WenQuanYi Micro Hei,sans-serif"
        >
            ${content}
        </text>
        <text x="210px" y="146px"
            text-anchor="start"
            transform="rotate(-20 200 146)"
            fill="rgba(40, 47, 56, 0.03)"
            font-weight="500"
            font-size="14"
            font-family="Helvetica Neue,Helvetica,Arial,PingFang SC,Hiragino Sans GB,Microsoft YaHei,WenQuanYi Micro Hei,sans-serif"
        >
            ${content}
        </text>
    </svg>`;
        const background = 'data:image/svg+xml;base64,' + window.btoa(svgString);
CSS与DIV布局
在布局方面,所有CSS样式必须直接定义在div节点上,并强制添加!important声明。这种处理方式能有效防止页面其他样式覆盖水印的显示效果,确保水印始终可见。
position: absolute !important;
top: 0px !important;
right: 0px !important;
bottom: 0px !important;
left: 0px !important;
overflow: hidden !important;
display: block !important;
opacity: 1 !important;
z-index: 10000 !important;
pointer-events: none !important; // 可以防止鼠标事件被水印节点拦截
background: url(${background});
const node = document.createElement('div');
watermarkRef.current = node;
node.setAttribute(
    'style',
    `position: absolute !important; top: 0px !important; right: 0px !important; bottom: 0px !important; left: 0px !important; overflow: hidden !important; display: block !important; opacity: 1 !important; z-index: 10000 !important; pointer-events: none !important; background: url(${background});`
);
防篡改原理
MutationObserve
const observer = new MutationObserver(function (entries) {
    // 因为MutationObserve没办法监听自己的属性是否被修改,自己是否被移除,只能监听父组件
    // 通过对父组件观测,entry.type = 'attributes'可以判断水印节点的属性是否被修改
    // entry.type = 'childList' 可以判断水印节点是否被移除
    for (const entry of entries) {
        if (
            (entry.type === 'attributes' && entry.target === watermarkRef.current) ||
            (entry.type === 'childList' && Array.from(entry.removedNodes).includes(watermarkRef.current))
        ) {
            removeWatermark();
            generateWaterMark();
            return;
        }
    }
});

const config = { attributes: true, childList: true, subtree: true };
observer.observe(
    parentNode, // 水印挂载到的父组件
    config
);
Web Component
使用Web Component的主要优势在于可以直接绑定回调函数,从而实时检测自身是否被篡改或从DOM中移除。这种机制提供了更直接的防护手段,无需依赖对父节点的复杂监听。
class WatermarkElement extends HTMLElement {
  static observedAttributes = ["style"]; // 需要观测的属性

  constructor() {
    super();
  }

  connectedCallback() {
    // 当组件挂载至dom中,可以用来初始化
  }

  disconnectedCallback() {
    // 当组件从document中移除,用于检测水印被删除
  }

  adoptedCallback() {
    // 当组件在document中被移动
    // 若触发则表示水印被移动,可能失效
  }

  attributeChangedCallback(name, oldValue, newValue) {
    // 若触发表示style属性被操作,可能是恶意篡改
  }
}

customElements.define("watermark-element", MyCustomElement);
至此,关于利用Web Component实现防篡改水印的详细介绍已完成。如需了解更多相关Web Component防篡改水印的内容,建议搜索本站往期文章或继续阅读后续相关专题,感谢大家的支持。
JS脚本在App中运行报错怎么解决
2026-11-04 23:11:03
JS怎么使用padStart方法给数字补零
2026-11-04 11:12:03
JS是什么意思?JavaScript全称及基本定义
2026-11-04 08:05:29
JS 使用 toFixed(1) 保留一位小数的基本用法与注意事项
2026-11-03 18:34:57
JS字符串转整数:parseInt与Number的区别及用法
2026-11-03 17:26:54