Node.js+Express+Vue+MySQL+axios全栈项目搭建与跨域配置详解
本文详细记录了基于Node.js、Express、Vue、MySQL和axios的全栈项目搭建全过程。内容涵盖Vue脚手架安装、后端server目录结构配置、数据库连接与路由设置、前端界面开发,以及解决前后端端口不一致导致的跨域问题。通过配置proxy代理和axios全局注册,实现了前后端数据的有效交互与测试。
1 基本搭建
在创建Vue项目之前,需要先安装Node.js和MySQL数据库。
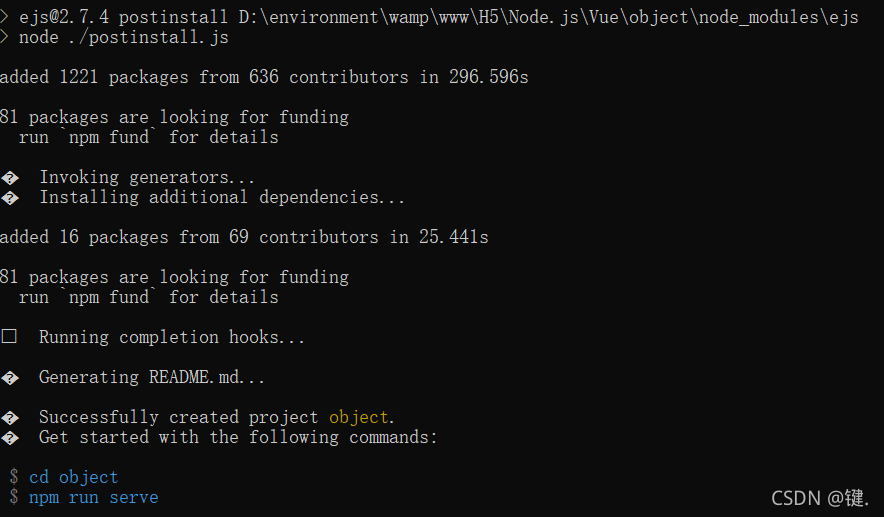
1.1 vue脚手架安装
npm i vue -g
npm i @vue/cli -g

//初始化vue项目
vue create 项目名
1.2 在创建好的项目中创建server文件夹
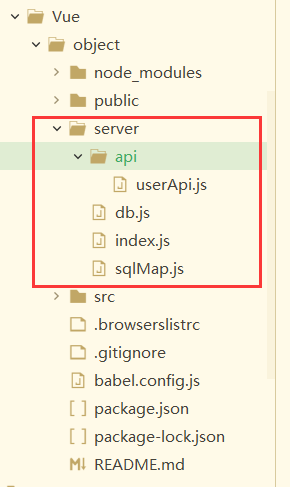
在文件夹内创建以下几个文件:
新建api文件夹、db.js、index.js、sqlMap.js。其中,api文件用于存放相关的API接口路径及方法,db.js用于配置数据库连接信息,index.js用于配置后端端口及API路由。
index.js
const userApi = require('./api/userApi');
const fs = require('fs');
const path = require('path');
const bodyParser = require('body-parser');
const express = require('express');
const app = express();

app.use(bodyParser.urlencoded({extended: true}));
app.use(bodyParser.json());

// 后端api路由
app.use('/api/user', userApi);

// 监听端口
app.listen(3000);
console.log('success listen at port:3000......');
db.js
//数据库配置信息 并进行导出
module.exports ={
  mysql:{
    host: 'localhost',
    user: 'root',
    password: '123456',
    database: 'h5',
    port: '3306'
  }
}
sqlMap.js
var sqlMap = {
  // 用户
  user: {
    add: 'insert into user(name,age) values(?,?)',
	update:'....'
  },
  //商品
  goods:{
	  add:'insert into goods(name,desc,price,num) value(?,?,?,?)'
  },
  //订单
  orders:{
	  ....
  }
}
module.exports = sqlMap;
userApi.js
//引入express,调用路由模块
var express = require('express');
var router = express.Router();

//引入mysql,mysql配置文件
var models = require('../db');
var mysql = require('mysql');
var $sql = require('../sqlMap');

// 连接数据库
var conn = mysql.createConnection(models.mysql);

conn.connect();
var jsonWrite = function(res, ret) {
  if(typeof ret === 'undefined') {
    res.json({
      code: '1',
      msg: '操作失败'
    });
  } else {
    res.json(ret);
  }
};

// 增加用户接口  完整进入该post的路径问index.js里面配置的路由加上该post的路径
//   '/api/user/addUser'
router.post('/addUser', (req, res) => {
  let sql = $sql.user.add;
  let params = req.body;
  console.log(params);
  conn.query(sql, [params.name, params.pass], function(err, result) {
    if (err) {
      console.log("添加失败"+err);
    }
    if (result) {
      jsonWrite(res, result);
    }
  })
});

module.exports = router;
1.3 编写前端界面
在src的views目录下创建一个前端界面。
<template>
  <div class="home">
	<form action="http://localhost:3000/api/user/addUser" method="post">
		user:<input type="text" name="name" /><br>
		pass:<input type="password" name="pass" /><br>
		<input type="submit"/>
	</form>

	<button type="button" @click="addUser">post添加用户</button>
  </div>
</template>

<script>

export default {
  name: 'Home',
  methods:{
	  addUser(){
		// console.log(111)
		//发起ajax请求
		//使用axios请求
	  }
  }
}
</script>
1.4 启动服务测试
此时我们还没有安装mysql模块。
npm i mysql --save同时启动前端和后端的服务。


输入数据进行测试:
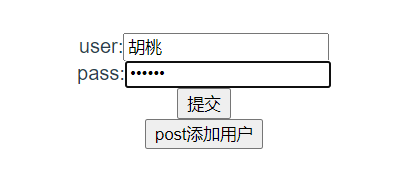
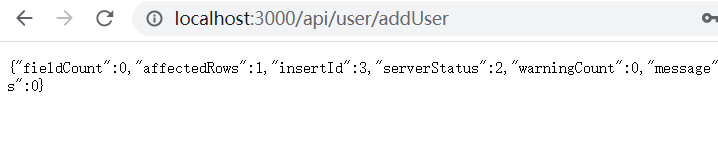

数据插入成功!
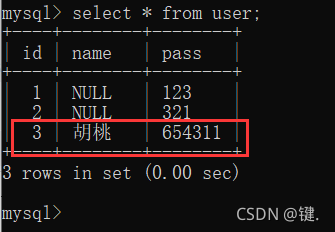
这里需要注意一点:
前端界面表单中的name属性值需要与数据库中的字段名称保持一致,否则数据无法正确插入数据库,可能会显示为NULL。

2 axios的使用
axios安装和使用
安装axios。
npm i --save axios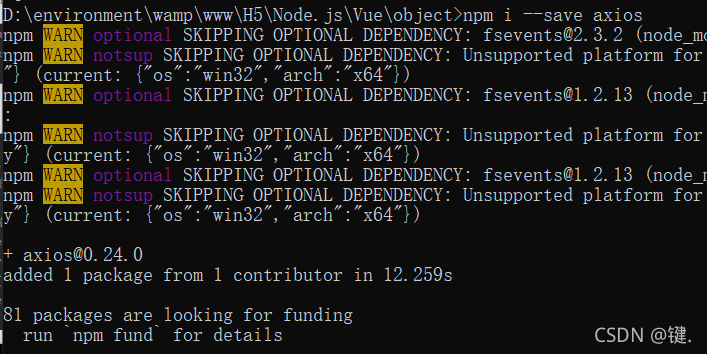
在vue项目中的main.js中引入axios。
// 引入axios
import axios from 'axios'

//全局注册axios
Vue.prototype.$axios=axios
<template>
  <div class="home">
	<form action="http://localhost:3000/api/user/addUser" method="post">
		user:<input type="text" name="name" /><br>
		pass:<input type="password" name="pass" /><br>
		<input type="submit"/>
	</form>

	<button type="button" @click="selectUser">post添加用户</button>
  </div>
</template>

<script>

export default {
  name: 'Home',
  methods:{
	  selectUser(){
		// console.log(111)
		//发起ajax请求
		//使用axios请求
		// console.log(this.$axios)
		this.$axios({
			url:'http://localhost:3000/api/user/',//请求的url地址
			method:'post',
			data:{
				name:'胡桃',
			},
		}).then(function(data){
			console.log(data)
		}).catch(function(err){
			console.log(err)
		})
	  }
  }
}
</script>
测试时出现报错,因为Node后端和Vue端的端口不一致,需要进行跨域处理。

配置proxy进行跨域请求。
在vue根目录找到vue.config.js,如果没有就手动创建一个。
module.exports={
	devServer:{
		proxy:{//配置跨域
			'/api':{
				target:'http://localhost:3000/',//这里填写真实的后台接口
				changeOrigin:true,//允许跨域
				pathRewrite:{
				/* 重写路径,当我们在浏览器中看到请求的地址为:http://localhost:8080/api/core/getData/userInfo 时
		            实际上访问的地址是:http://121.121.67.254:8185/core/getData/userInfo,因为重写了 /api
		           */
					'^/api':'/'
				}
			}
		}
	}
}
在userApi.js中新增一个post请求方法。
router.post('/selectUser', (req, res) => {
  console.log(req.body);
});
<template>
  <div class="home">
	<form action="http://localhost:3000/api/user/addUser" method="post">
		user:<input type="text" name="name" /><br>
		pass:<input type="password" name="pass" /><br>
		<input type="submit"/>
	</form>

	<button type="button" @click="selectUser">post添加用户</button>
  </div>
</template>

<script>

export default {
  name: 'Home',
  methods:{
	  selectUser(){
		// console.log(111)
		//发起ajax请求
		//使用axios请求
		// console.log(this.$axios)
		this.$axios({
			url:'/api/api/user/selectUser',//请求的url地址
			method:'post',
			data:{
				name:'胡桃',
			},
		}).then(function(data){
			console.log(data)
		}).catch(function(err){
			console.log(err)
		})
	  }
  }
}
</script>
重启前端和后端服务,点击按钮。
查看后台控制台。
跨域请求数据成功!

proxy写多个代理
module.exports={
	devServer:{
		proxy:{//配置跨域
			'/api/select':{
				target:'http://localhost:3000/',//这里填写真实的后台接口
				changeOrigin:true,//允许跨域
				pathRewrite:{
					'^/api/select':''
				}
			},
			'/api':{
				target:'http://localhost:3000/',//这里填写真实的后台接口
				changeOrigin:true,//允许跨域
				pathRewrite:{
				  // api代表网址是: http://localhost:3000/api/user
					'^/api':''
				}
			},
		}
	}
}
前端url路径写成哪个都可以跨域请求到数据。
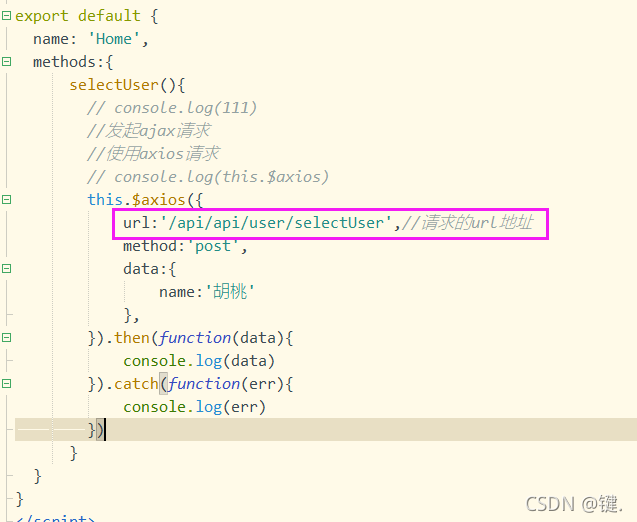
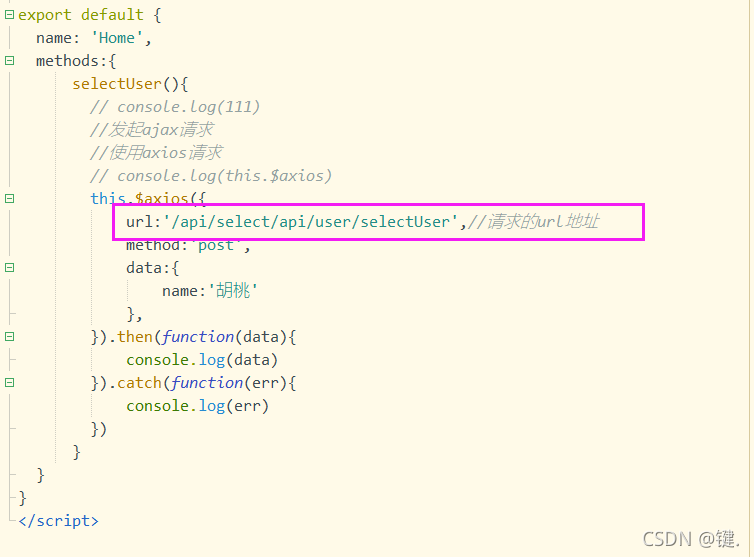
代码更改后需要重新前端服务。

简写代码:
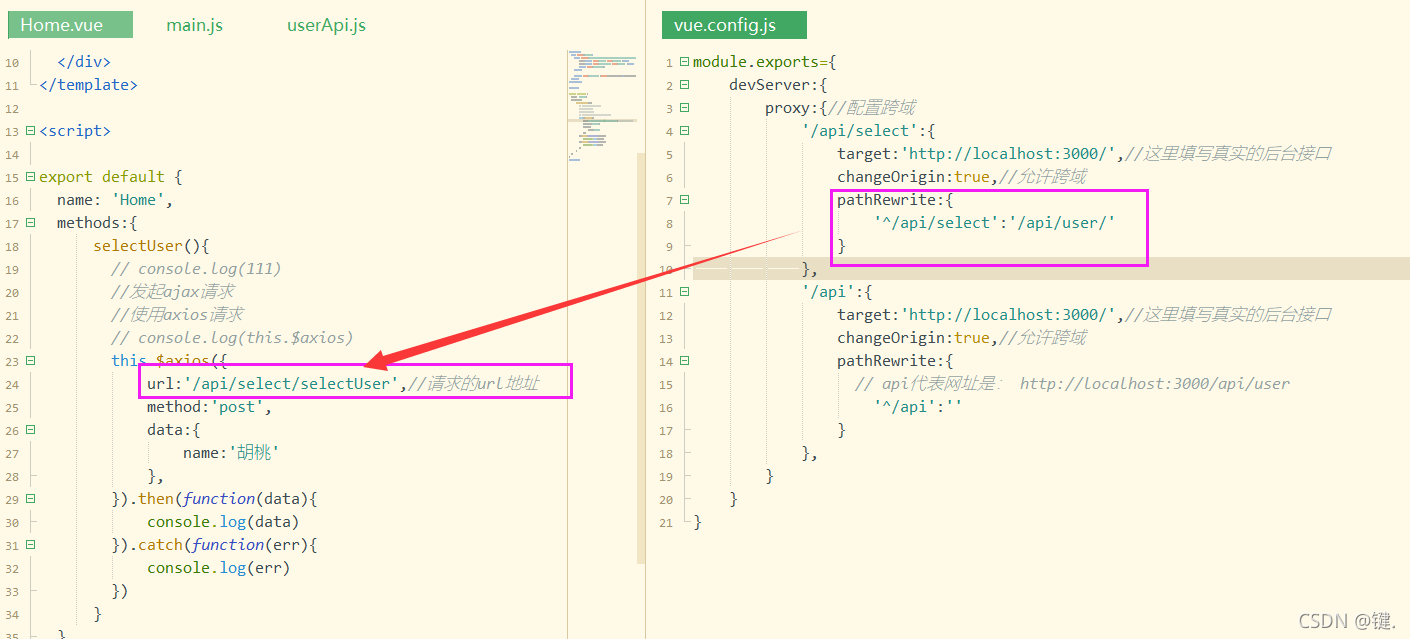
同理,我们把第二个代理修改。
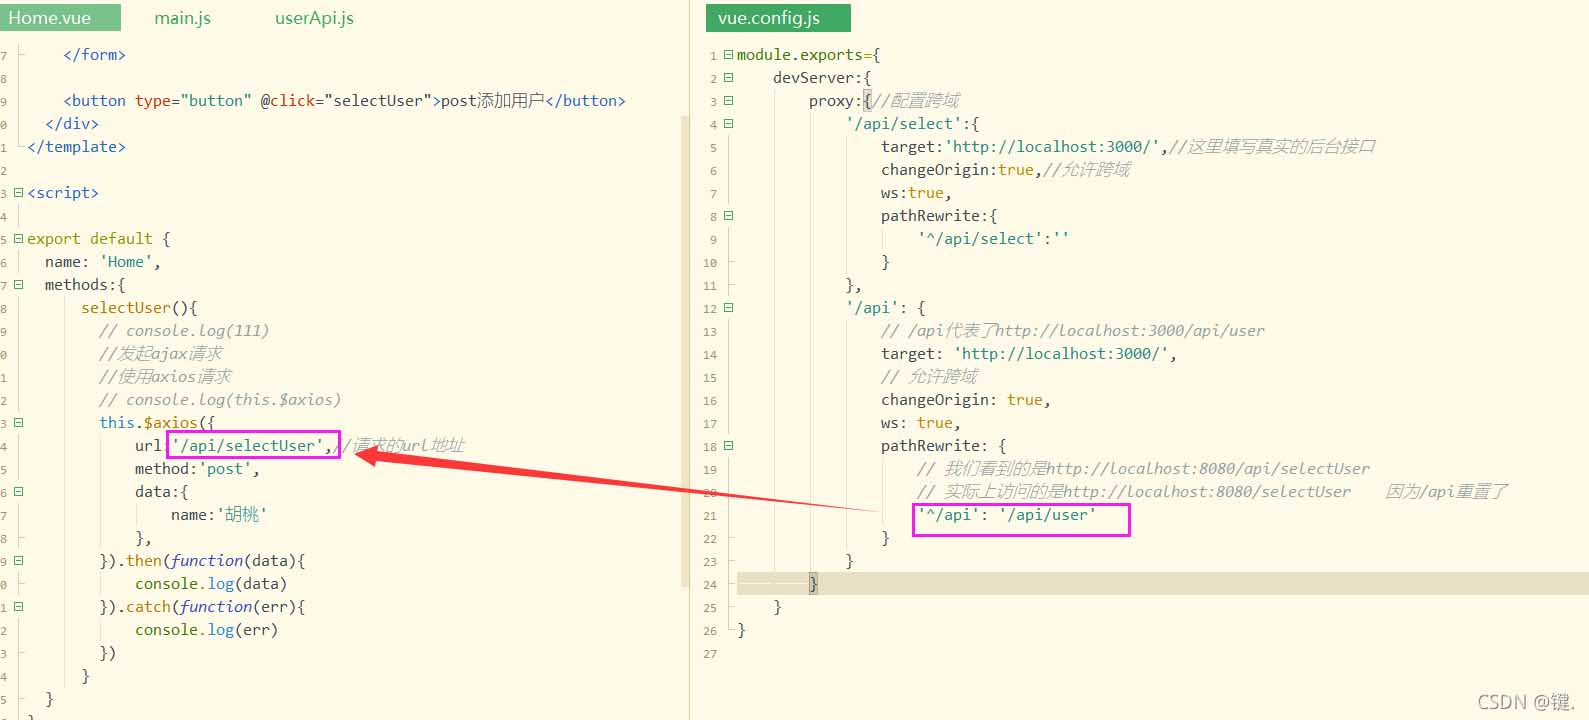
但是这里测试请求失败,
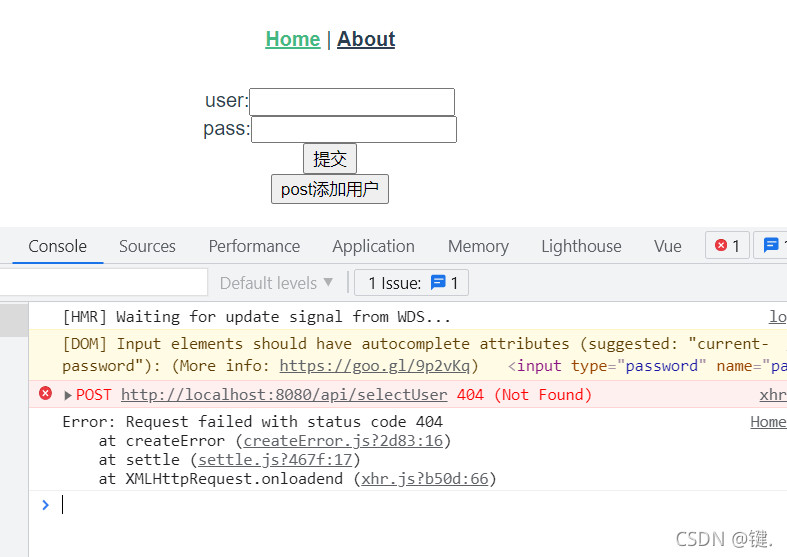
我们做如下修改:
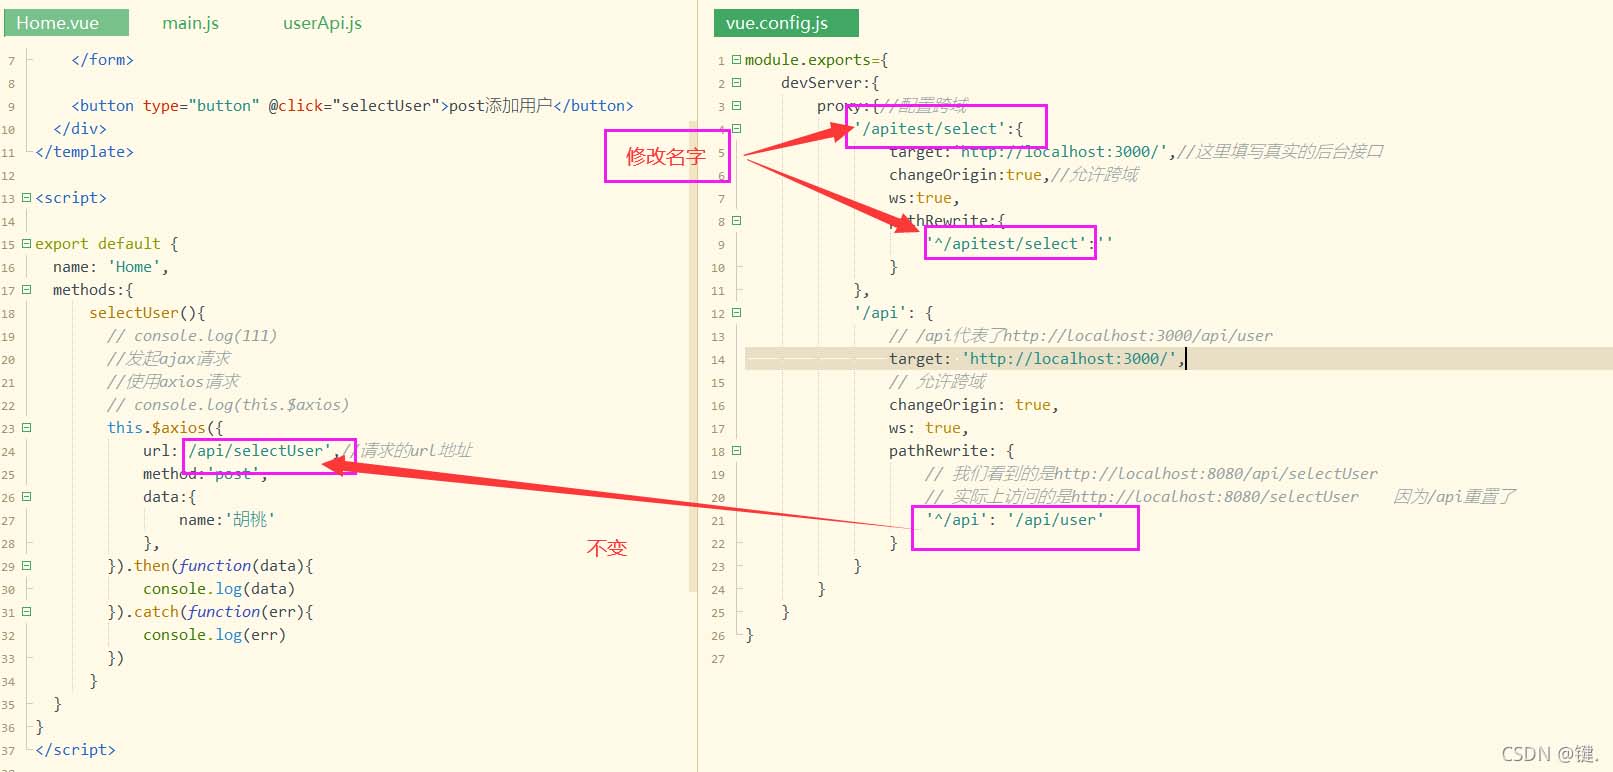
最终就可以测试成功了!
总结
以上为个人经验,希望能给大家一个参考,也希望大家多多支持本站。
在 NestJS 中使用管道验证数据与守卫控制访问权限
2026-11-05 12:43:41
Node.js后端生成高强度随机字符串的方法
2026-11-04 16:29:54
Node.js环境中怎么使用axios或http模块发送GET请求
2026-11-03 21:57:15
Node.js环境下怎么实现JS反混淆自动化?常用库与CLI工具推荐
2026-11-03 21:15:54
解决JS逆向常见报错:缺少DOM环境导致代码运行失败
2026-11-03 20:41:59